
hi all,
introducing my golf gti project that i have been working on for the last while.
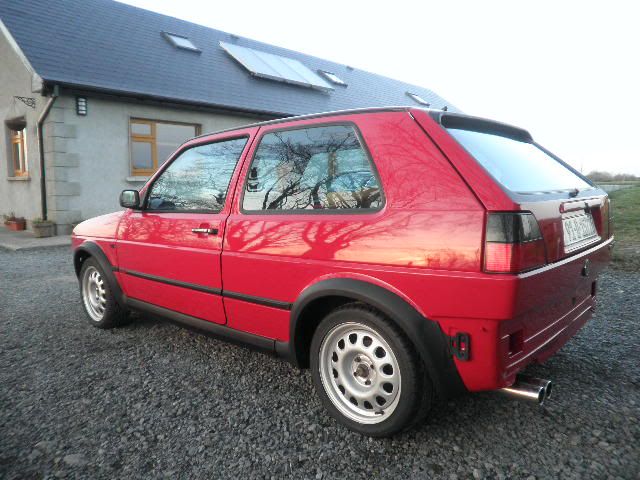
first a brief history of the car. its an origional irish 8v gti in tornado red..it was bought new from the foster motor company in sept 91 and changed hands a few times in the capital before i purchased it off a ballinafad man working in dublin around 1998.
it changed hands within my family a couple of times after that ending up with my sister who owned it for three years ,
when she decided to change to a mk4 gti it came back into my ownership again, at this time it was beginning to show its age in that pretty much every aspect of the car needed some attention in one way or another. the shell was still rock solid though whith was a major factor in me owning it again.
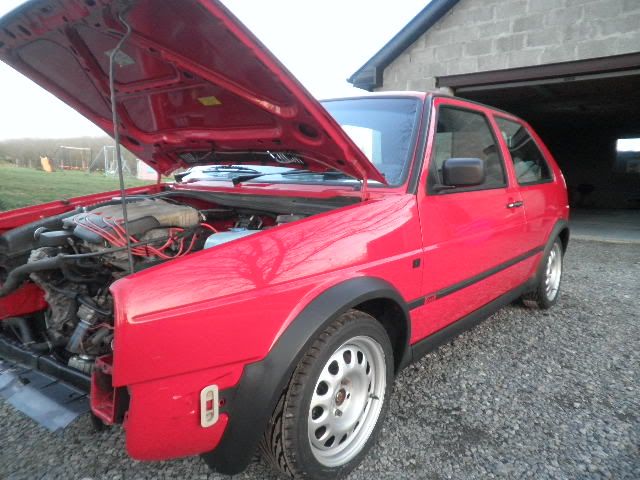
i decided eventually that a full stripdown ,repaint and rebuild was on the cards, the car was dismantled inside and out and sent off to be painted in origional tornado red. the wing mounted aerial and a roof mounted item were removed and welded over also.
unfortunatly after this more domestic matters took over and the project was shelved and the car was put into storage for a time while i was busy housebuilding etc.
so fast forward to last year i started to get a little more time on my hands and the car reamerged ready for a bit more tlc.
i dont have any pics of the earlier stages of the build as my pc crashed and i lost any pics i had at the time but i will detail the work carried out along with some more recent shots.
exterior:
shell stripped of all glass ,mouldings, arches ,bumpers etc,
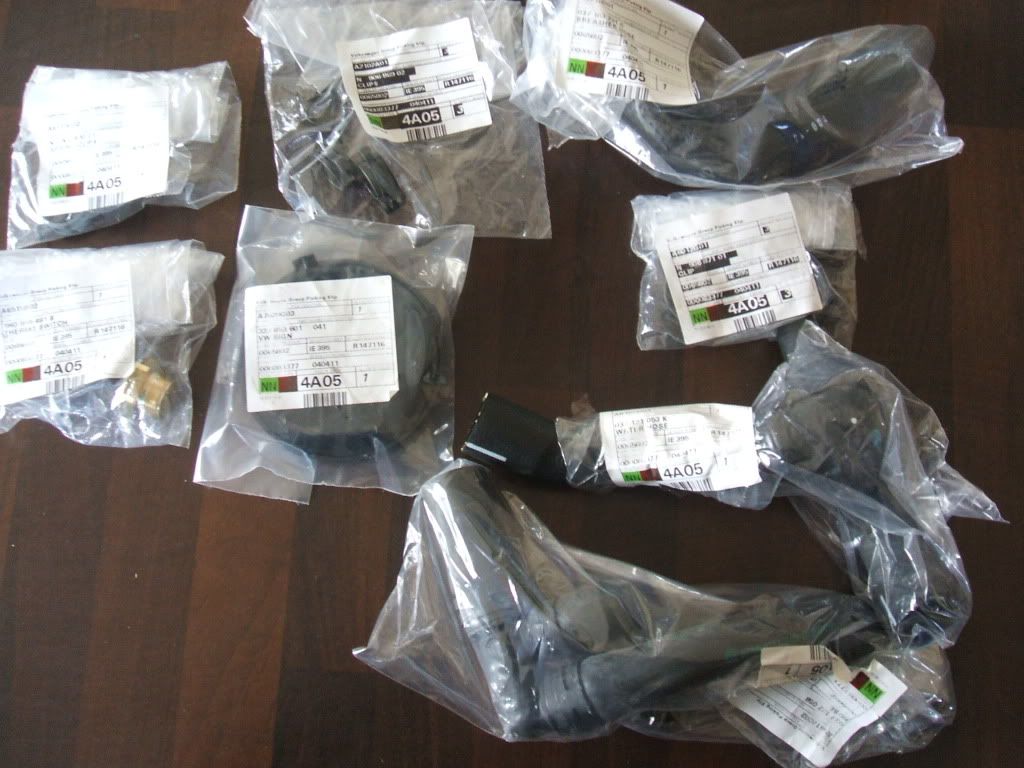
repainted in origional tornado red and trim reassembled with the following new oem items,
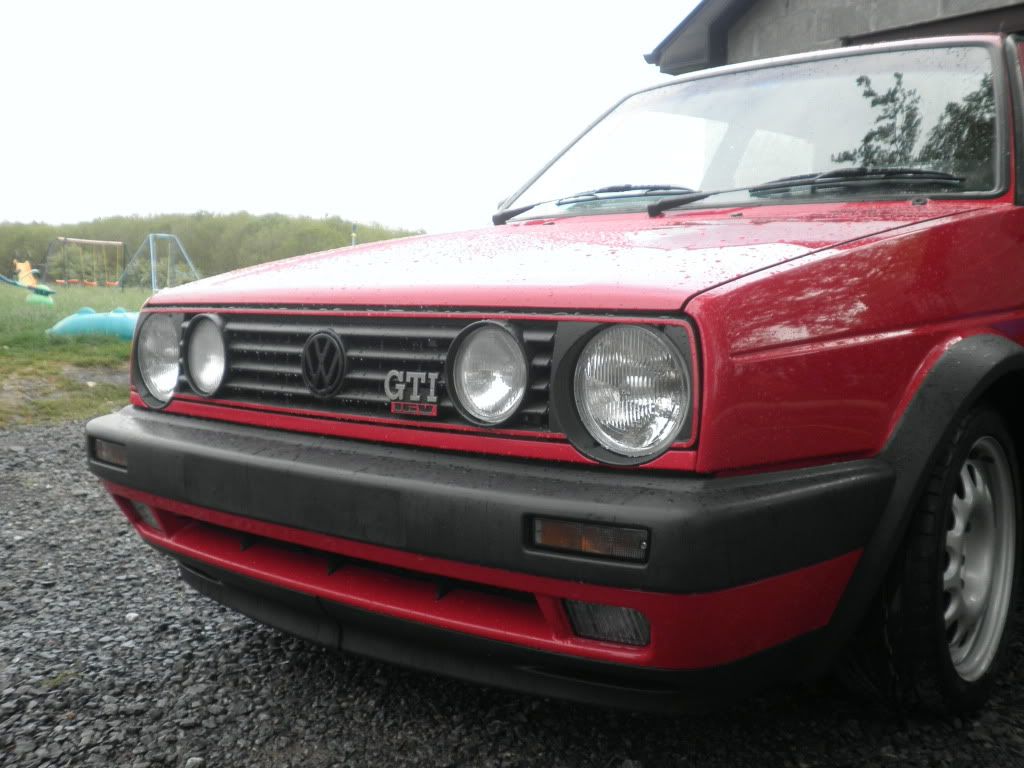
g60 arches all round
narrow quarter panel and door mouldings with new badges.
sill mouldings and brackets.
rear hatch vinyl trim.
sunroof seal.
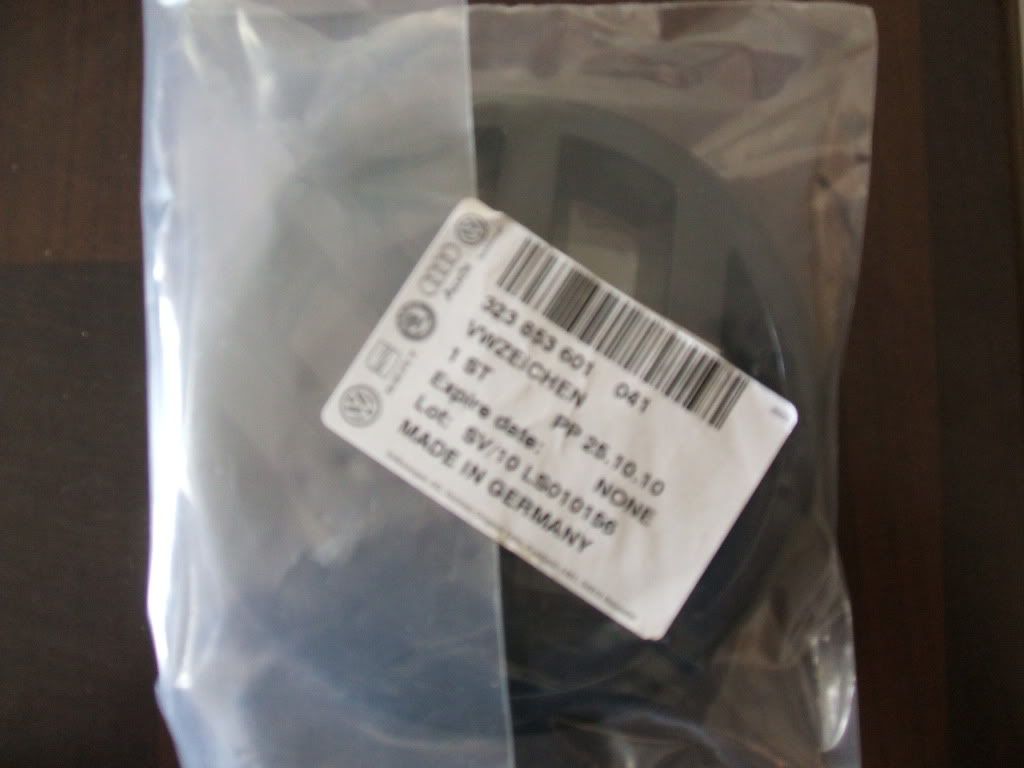
rear vw centre badge
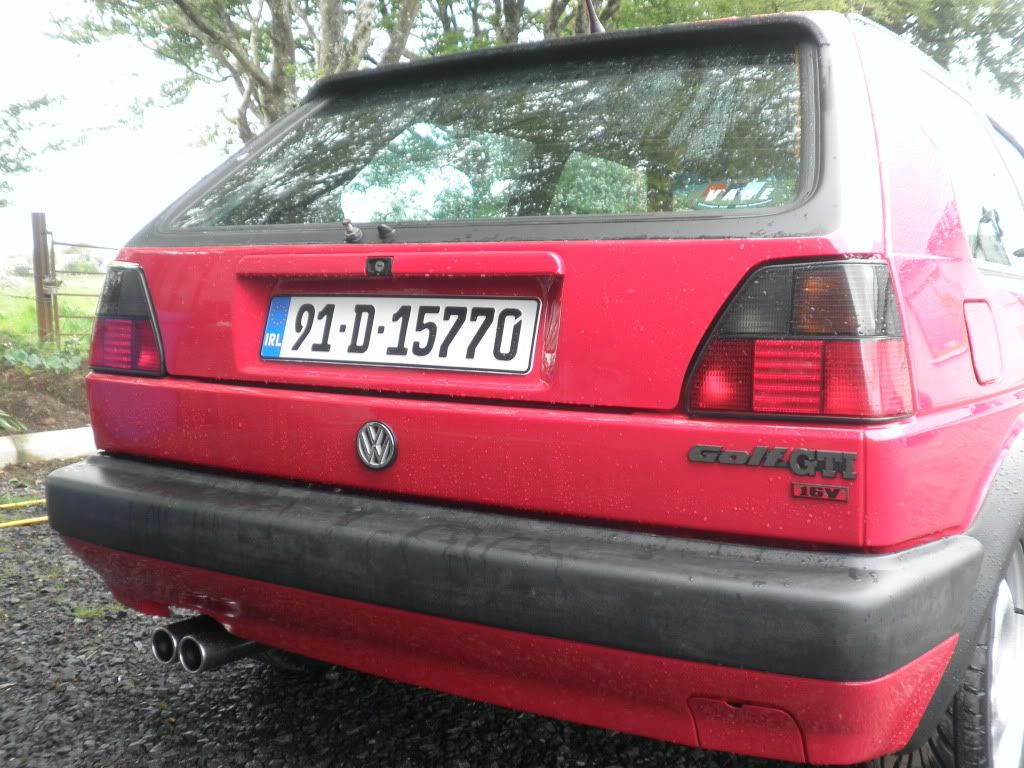
nearly new golf gti rear badge.
the roof rubber trims were in good condition so were cleaned and refitted with new mounting clips each side.
a good set of green tint glass was fitted along with a dark top tinted windscreen, glass seals were reused where fit or good used replacments were obtained. a.new windscreen seal was used .
chassis:
rear axle, subframe ,wishbones,and front crossmember removed blasted and repainted.
powerflex bushings used throughout inc front member and ps rack.
g60 front hubs and brakes fitted with new wheel bearings and new backing plates.
rear hubs rebuilt with new wheel bearings and backing plates.
h+r arb,s front and rear.
koni sport adjustable dampers with eibach 40mm lowering spings, new g60 front top mounts, powerflex bumpstops all round.
powersteering system fitted with new column to rack knuckle and gaitor .
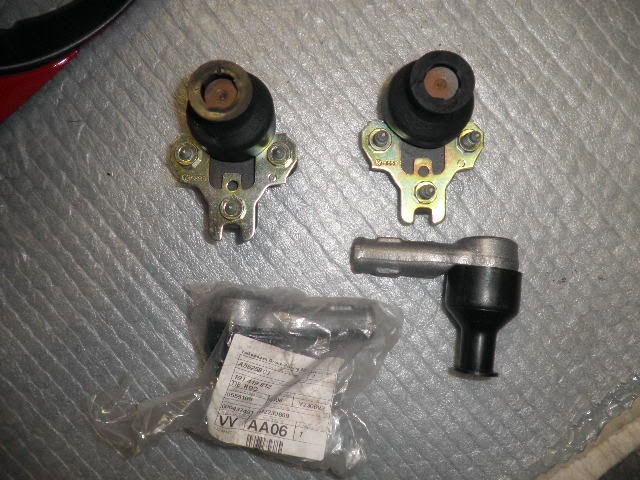
new tca and wishbone balljoints.
new g60 steels with toyo proxes t1r,s 195/45/15
brakes:
g60 spec 280mm fronts with new ebc grooved disc,s and green pads.
rear brakes also fitted with ebc groooved disc,s and ferodo pads.
goodridge hoses all round.
new 22mm master cylinder with mk3 16v reservior.
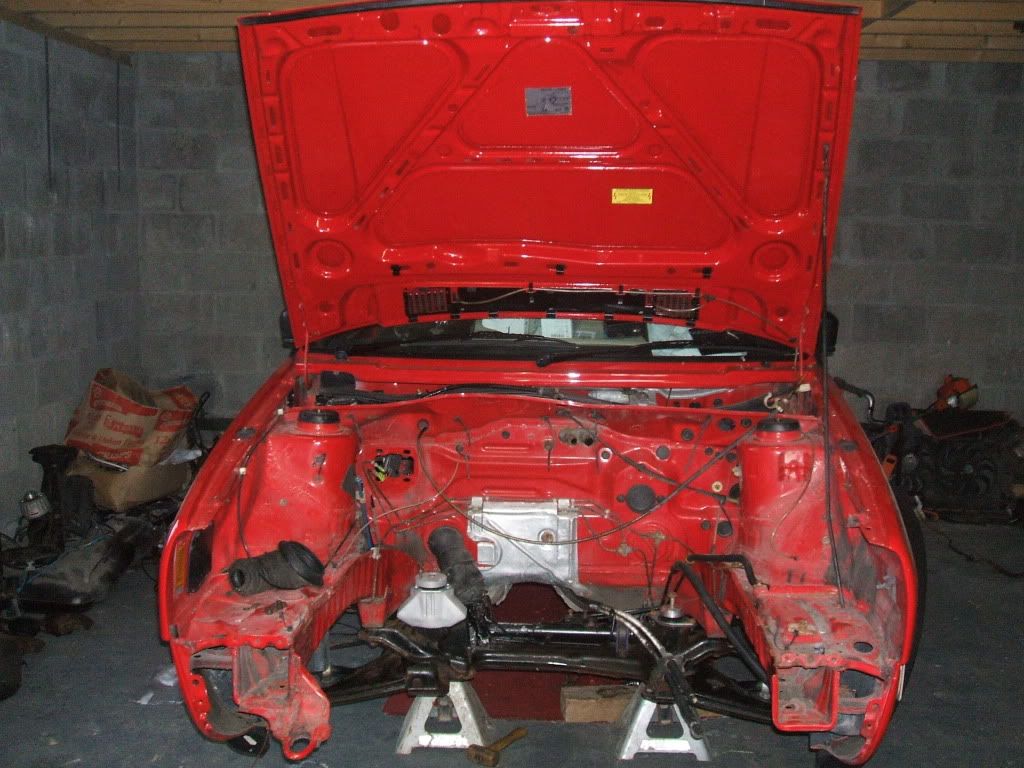
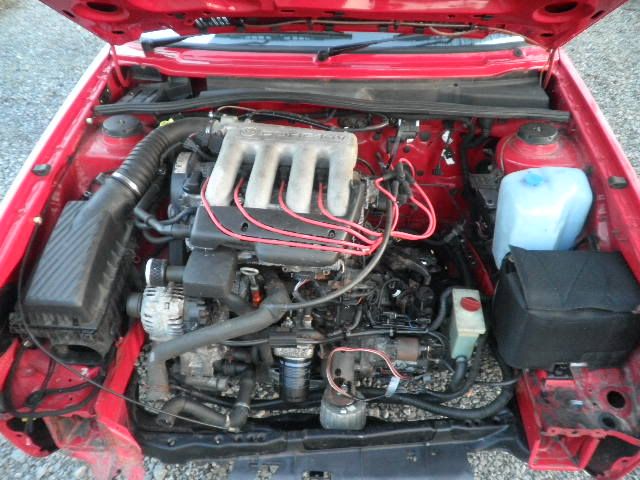
engine:
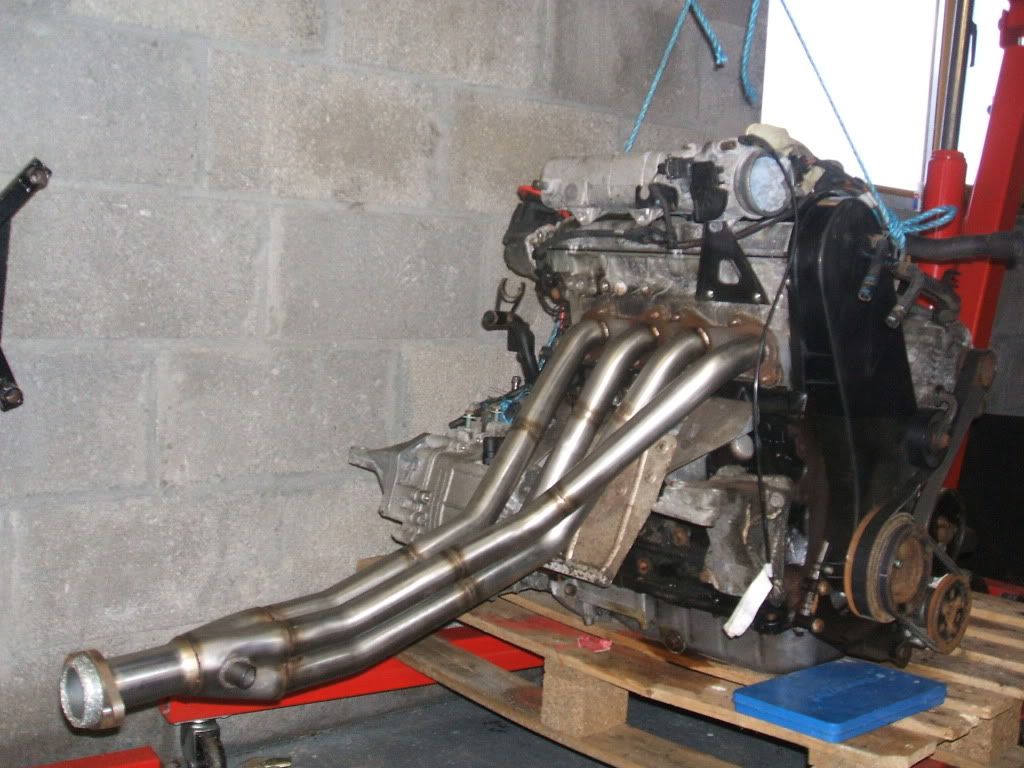
the origional 8v engine and gearbox has been removed and i have fitted a 2.0 abf 16v from a mk3 golf gti.
i have used new vibratechnics road spec engine mounts front and rear.
fitted a tsr/milltek mk2 abf specific s/s 4 branch manifold , got a lambda boss welded in and got a new oe lambda probe.
i am also using the mk3 cable change box so a g60 pedal box has been fitted and the mk3 cables and shifter have been installed.
thats more or less all the work carried out up to now. still loads to do ,
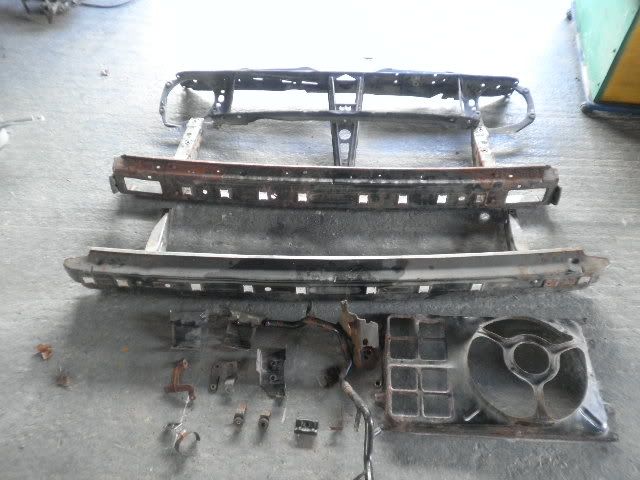
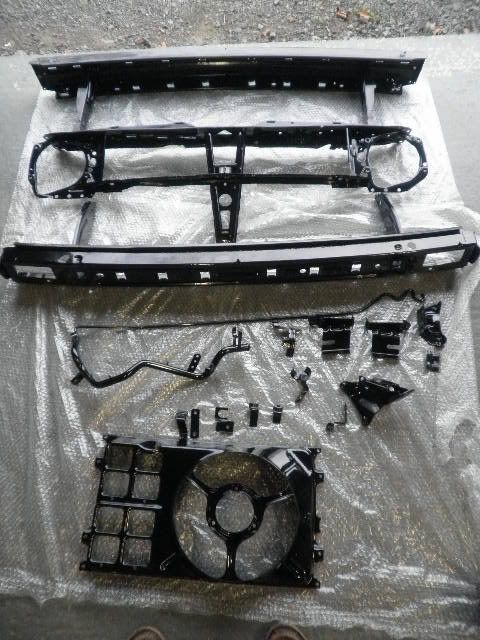
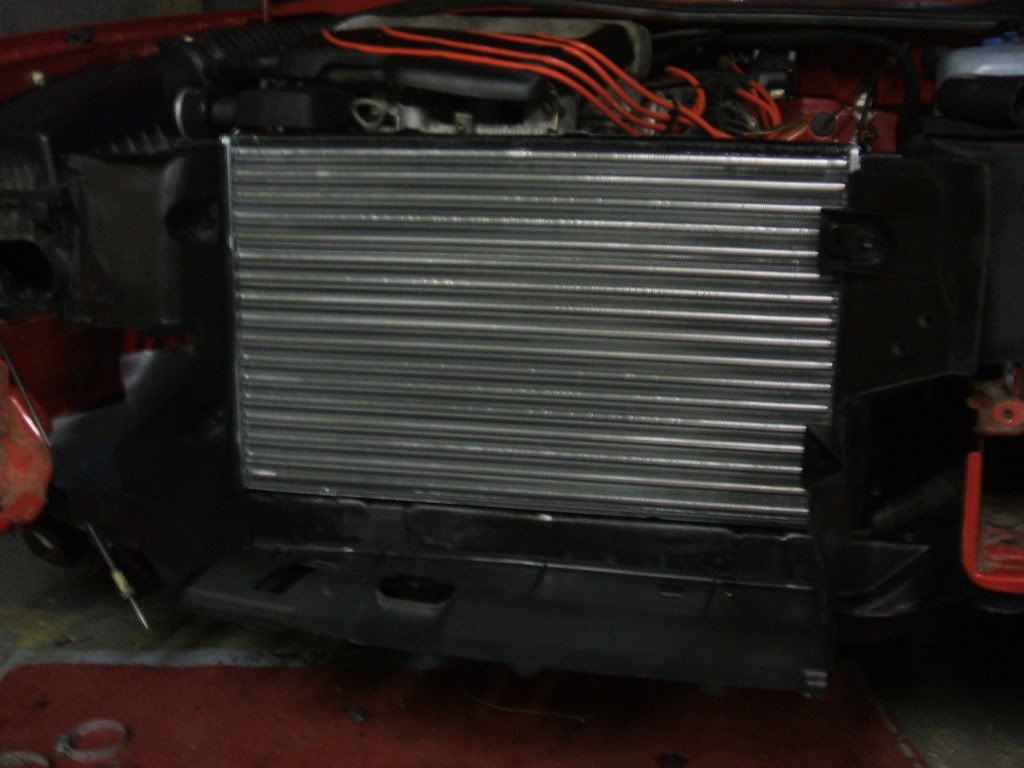
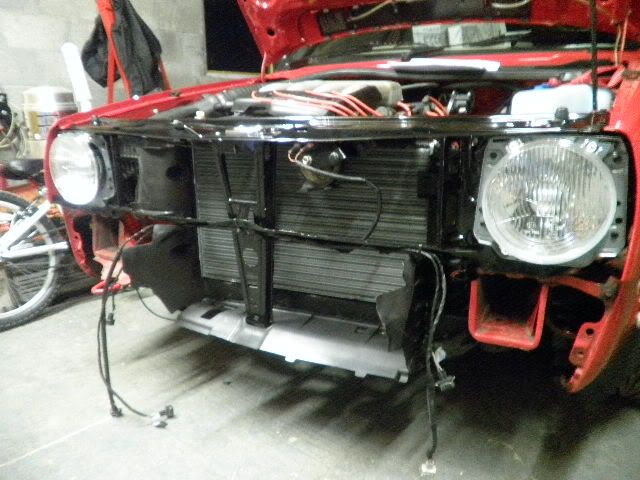
ive to get the front end built up with new rad and hoses .
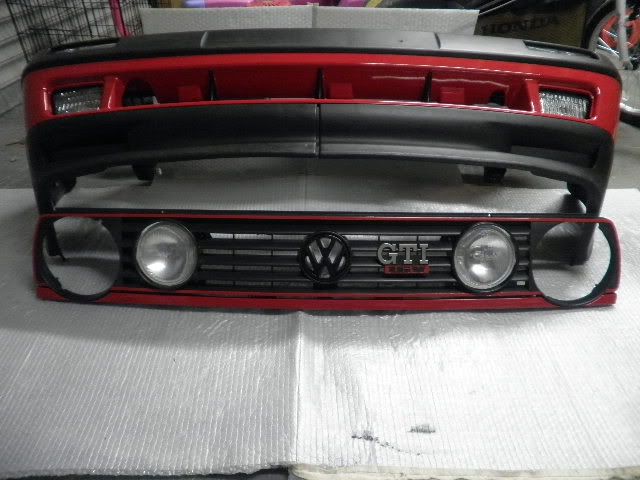
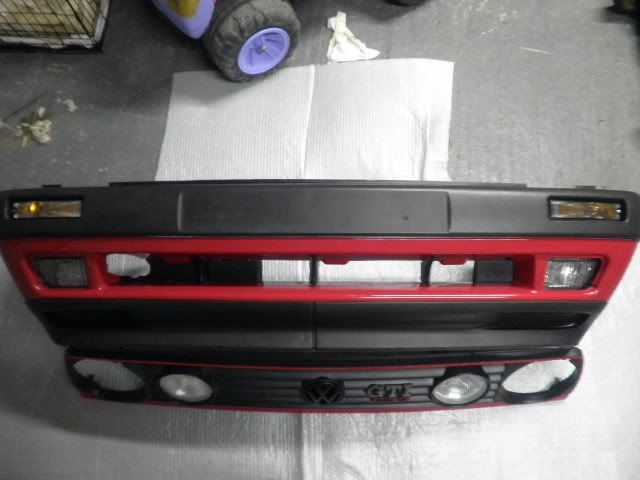
ive a good set of big bumpers ready to be fitted ,
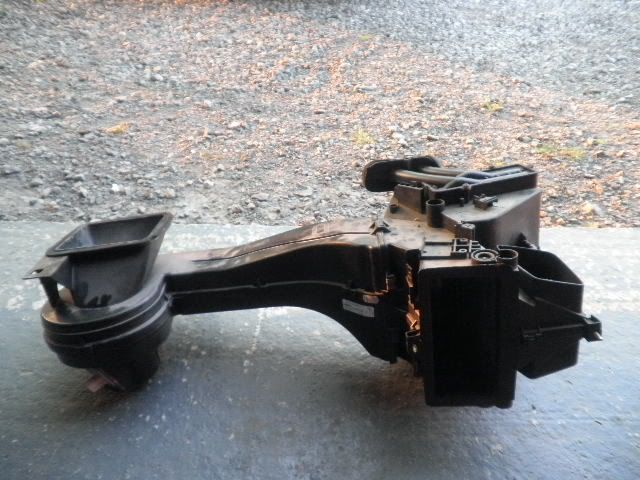
heater matrix to be replaced,
interior to be refitted.
prob more that i have,nt thought of as well lol.
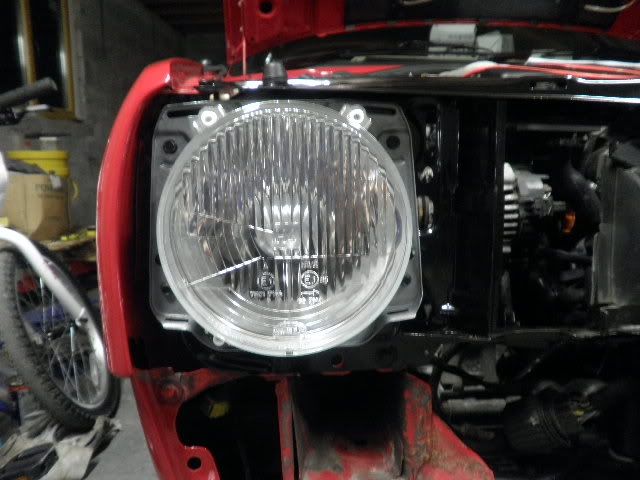
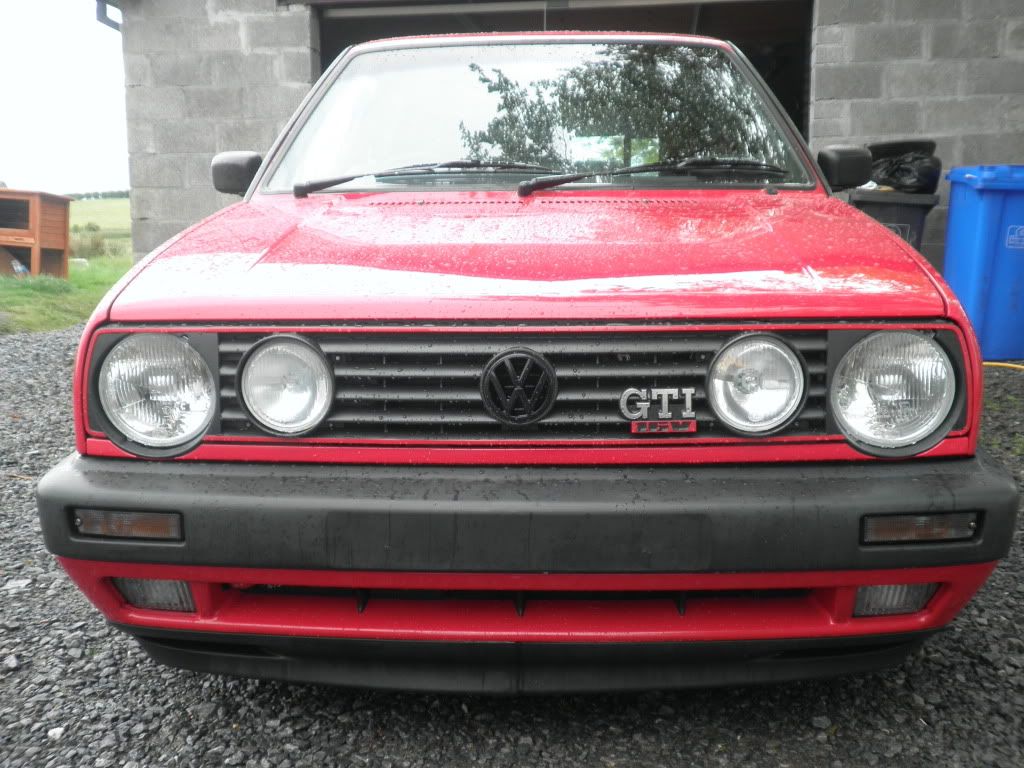
a few random pics,
![Image]()
![Image]()
![Image]()
![Image]()
![Image]()
![Image]()
thats it for now , c+c,s welcome. more updates soon.
introducing my golf gti project that i have been working on for the last while.
first a brief history of the car. its an origional irish 8v gti in tornado red..it was bought new from the foster motor company in sept 91 and changed hands a few times in the capital before i purchased it off a ballinafad man working in dublin around 1998.
it changed hands within my family a couple of times after that ending up with my sister who owned it for three years ,
when she decided to change to a mk4 gti it came back into my ownership again, at this time it was beginning to show its age in that pretty much every aspect of the car needed some attention in one way or another. the shell was still rock solid though whith was a major factor in me owning it again.
i decided eventually that a full stripdown ,repaint and rebuild was on the cards, the car was dismantled inside and out and sent off to be painted in origional tornado red. the wing mounted aerial and a roof mounted item were removed and welded over also.
unfortunatly after this more domestic matters took over and the project was shelved and the car was put into storage for a time while i was busy housebuilding etc.
so fast forward to last year i started to get a little more time on my hands and the car reamerged ready for a bit more tlc.
i dont have any pics of the earlier stages of the build as my pc crashed and i lost any pics i had at the time but i will detail the work carried out along with some more recent shots.
exterior:
shell stripped of all glass ,mouldings, arches ,bumpers etc,
repainted in origional tornado red and trim reassembled with the following new oem items,
g60 arches all round
narrow quarter panel and door mouldings with new badges.
sill mouldings and brackets.
rear hatch vinyl trim.
sunroof seal.
rear vw centre badge
nearly new golf gti rear badge.
the roof rubber trims were in good condition so were cleaned and refitted with new mounting clips each side.
a good set of green tint glass was fitted along with a dark top tinted windscreen, glass seals were reused where fit or good used replacments were obtained. a.new windscreen seal was used .
chassis:
rear axle, subframe ,wishbones,and front crossmember removed blasted and repainted.
powerflex bushings used throughout inc front member and ps rack.
g60 front hubs and brakes fitted with new wheel bearings and new backing plates.
rear hubs rebuilt with new wheel bearings and backing plates.
h+r arb,s front and rear.
koni sport adjustable dampers with eibach 40mm lowering spings, new g60 front top mounts, powerflex bumpstops all round.
powersteering system fitted with new column to rack knuckle and gaitor .
new tca and wishbone balljoints.
new g60 steels with toyo proxes t1r,s 195/45/15
brakes:
g60 spec 280mm fronts with new ebc grooved disc,s and green pads.
rear brakes also fitted with ebc groooved disc,s and ferodo pads.
goodridge hoses all round.
new 22mm master cylinder with mk3 16v reservior.
engine:
the origional 8v engine and gearbox has been removed and i have fitted a 2.0 abf 16v from a mk3 golf gti.
i have used new vibratechnics road spec engine mounts front and rear.
fitted a tsr/milltek mk2 abf specific s/s 4 branch manifold , got a lambda boss welded in and got a new oe lambda probe.
i am also using the mk3 cable change box so a g60 pedal box has been fitted and the mk3 cables and shifter have been installed.
thats more or less all the work carried out up to now. still loads to do ,
ive to get the front end built up with new rad and hoses .
ive a good set of big bumpers ready to be fitted ,
heater matrix to be replaced,
interior to be refitted.
prob more that i have,nt thought of as well lol.
a few random pics,
thats it for now , c+c,s welcome. more updates soon.