
I eventually managed to blag a digita camera over the weekend (Ive killed two already; dropped my own a good few times, and left a 'borrowed' one out in the rain
![Image]()
)... so I thought I'd share some pics with you all of my 'projects'
91 Caddy
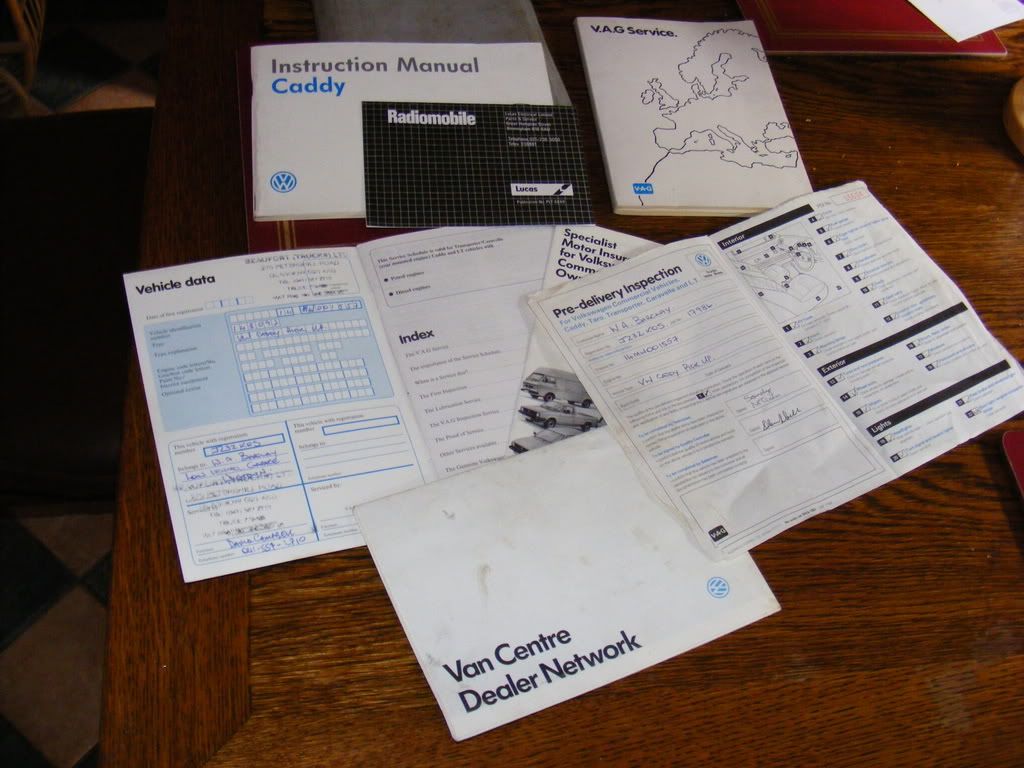
Bought this tru this site off Ken Merdy 'sans' engine and box (and radiator, mounts, expansion tank...etc etc)
![Image]()
above is a pic 'as bought' in Ken's, of the big empty engine bay...
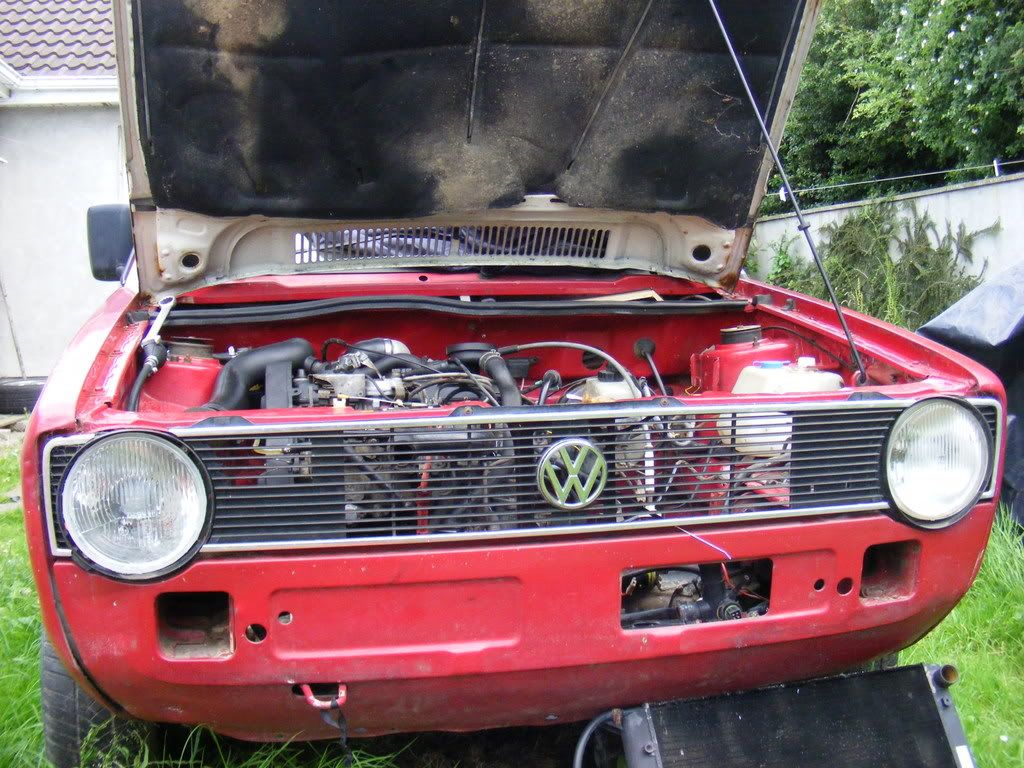
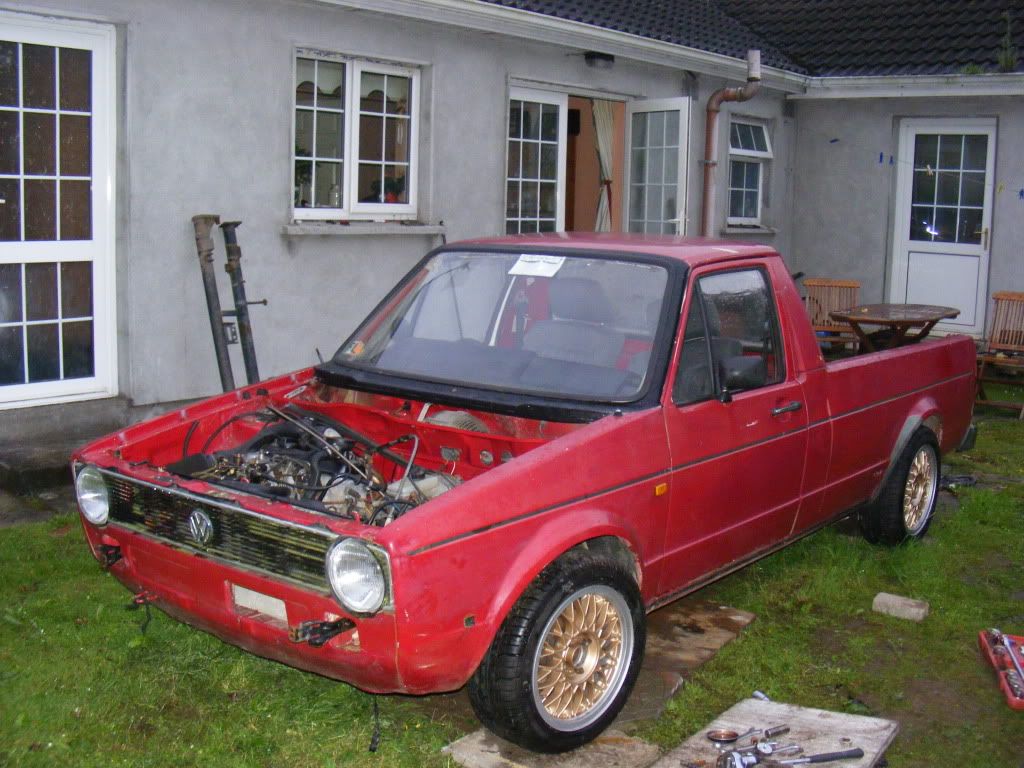
Recent pic of the caddy - fitted the chrome grille surround from my 'ill fated' 84 (i chopped it up-too much rust)
![Image]()
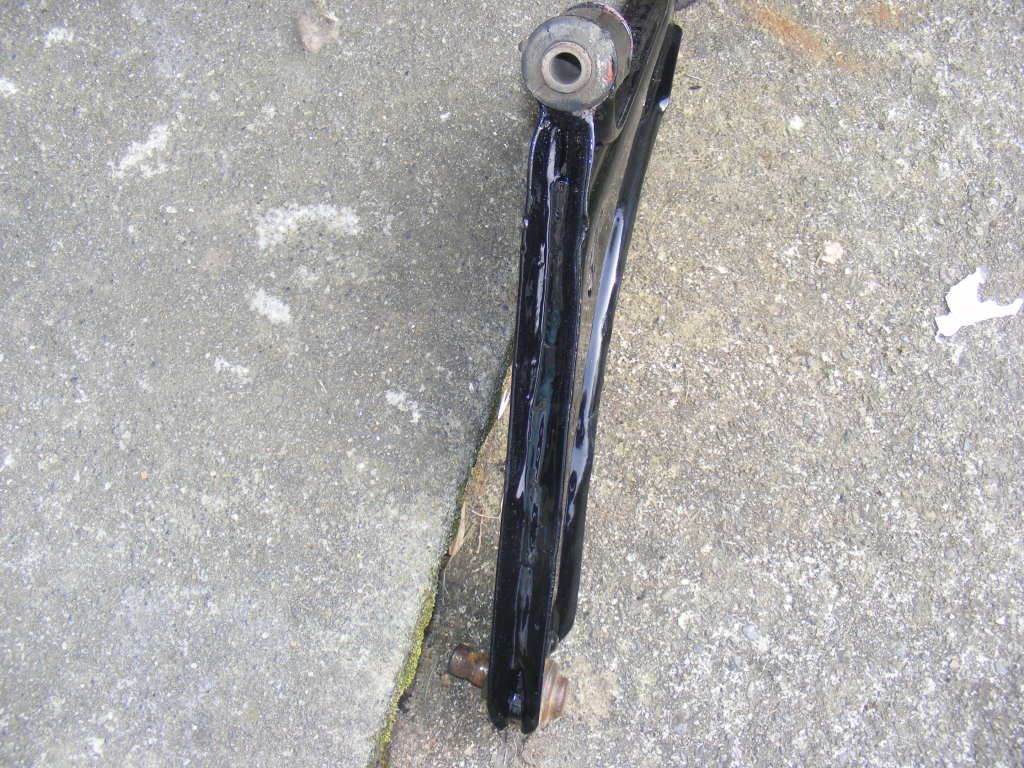
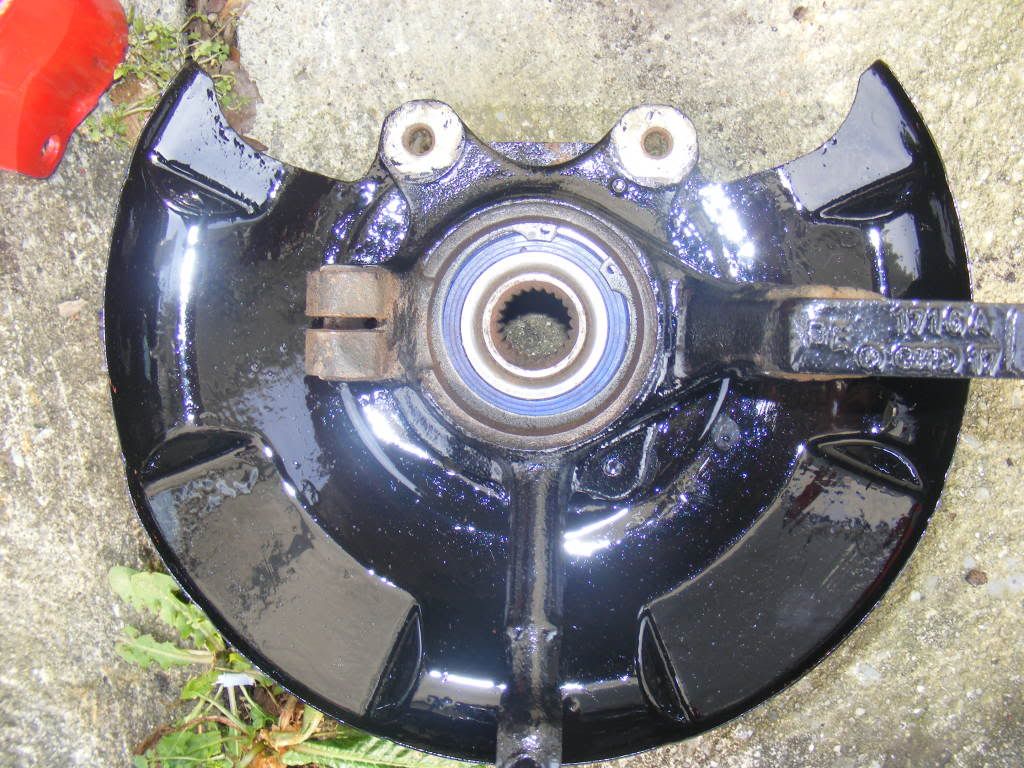
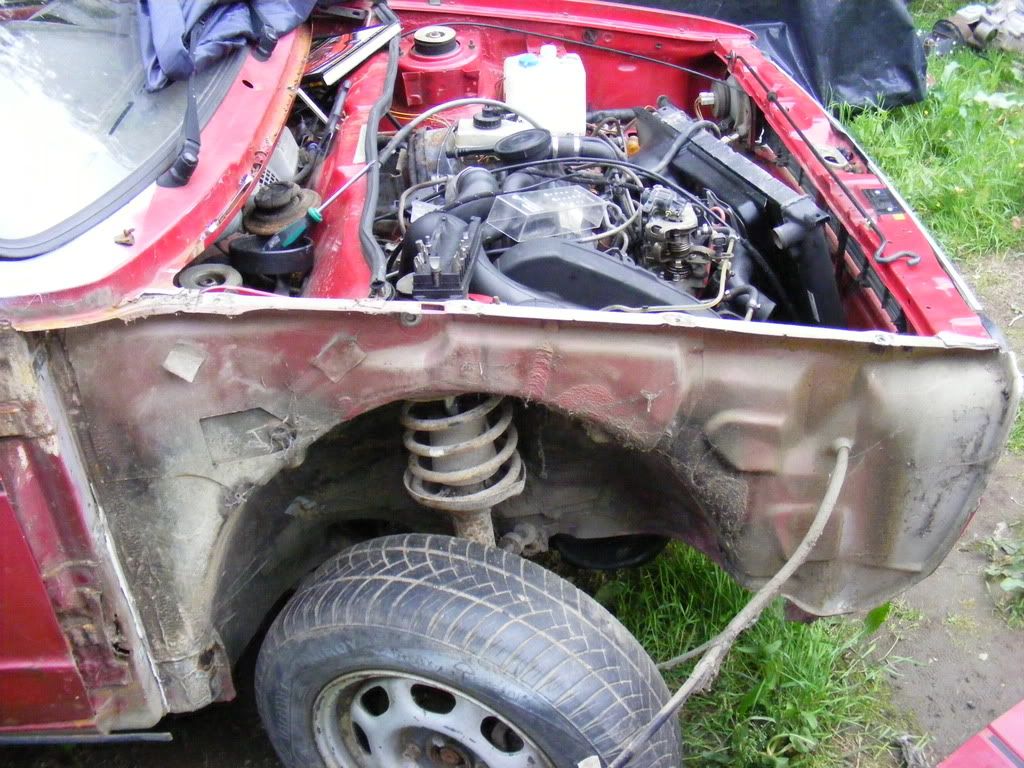
Dropped in the 1.9TD AAZ I got off LiamO after a good clean up/degrease and swop around of some stuff...
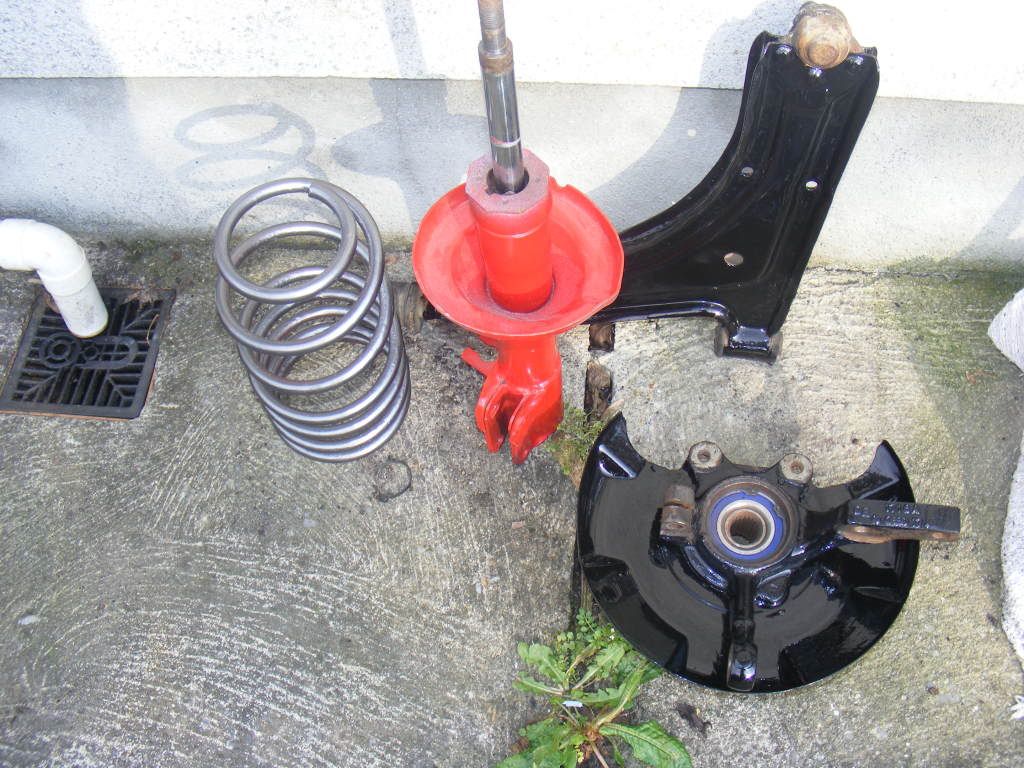
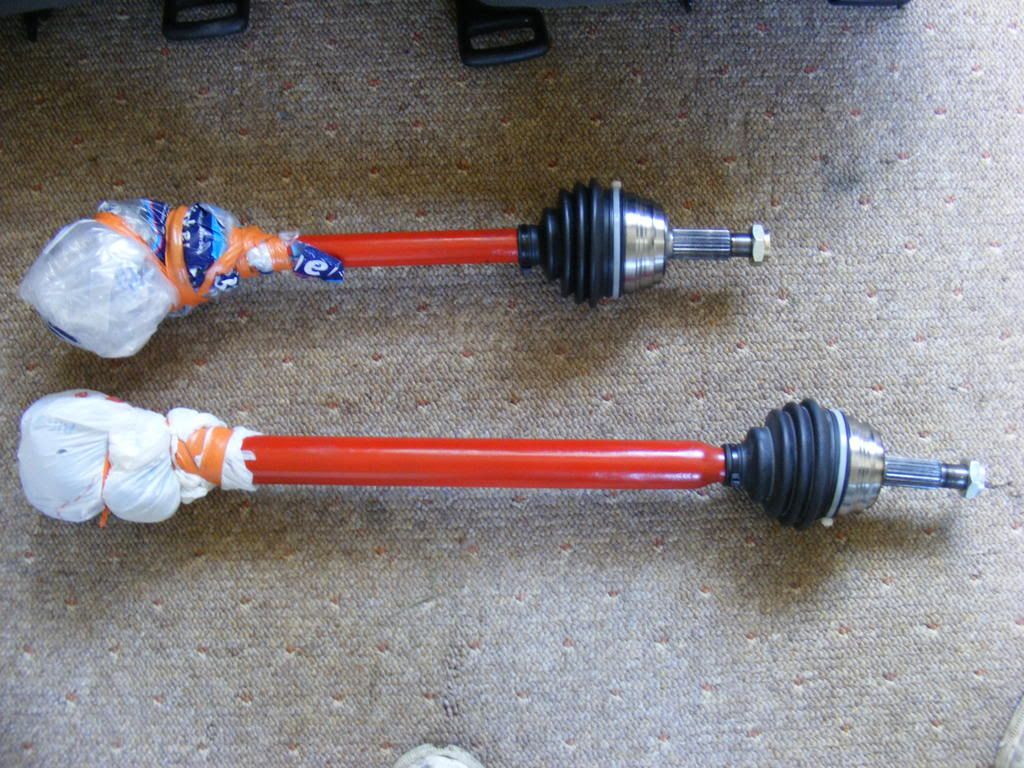
...got all 'anal' and degreased the engine bay and sprayed up a few pipes, ancillaries etc
![Image]()
daft induction kit is on for mocking up purposes, bought for Eu5 as part of a 'job lot' of Rover bits...
Body was pretty good for a caddy; but not perfect...
Rust all repaired on the scuttle using 2 Beevers panels scuttle repair sections(still have a drivers side inner and outer arch section that I was going to use on the 84 before I thought better of it)...
![Image]()
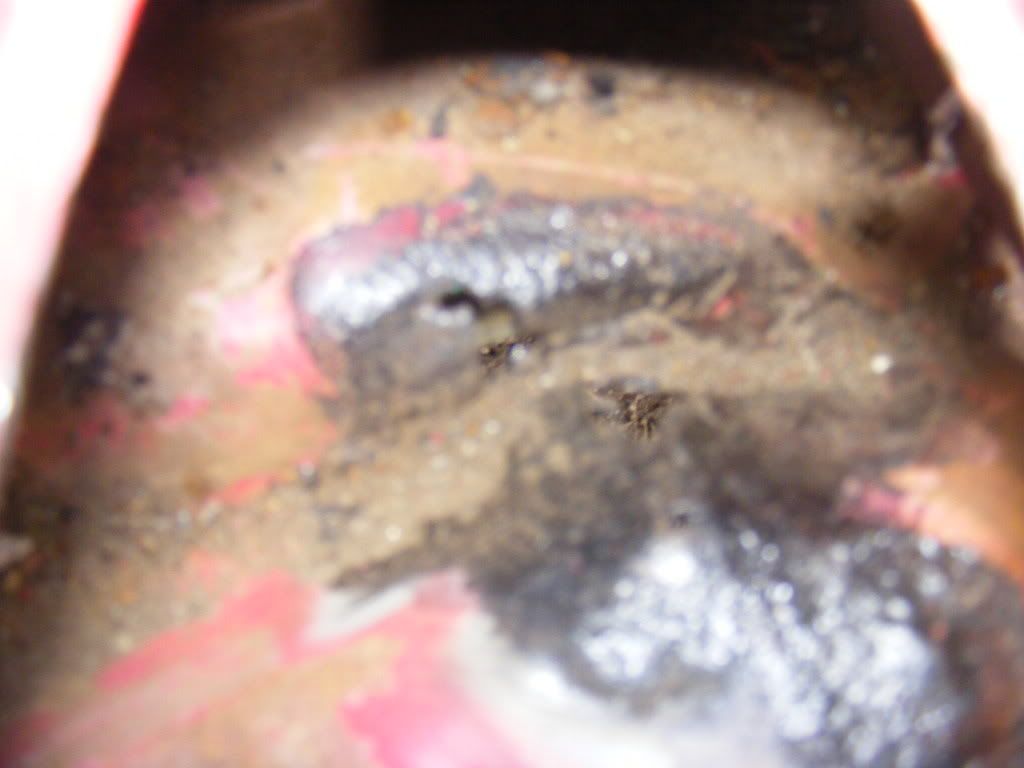
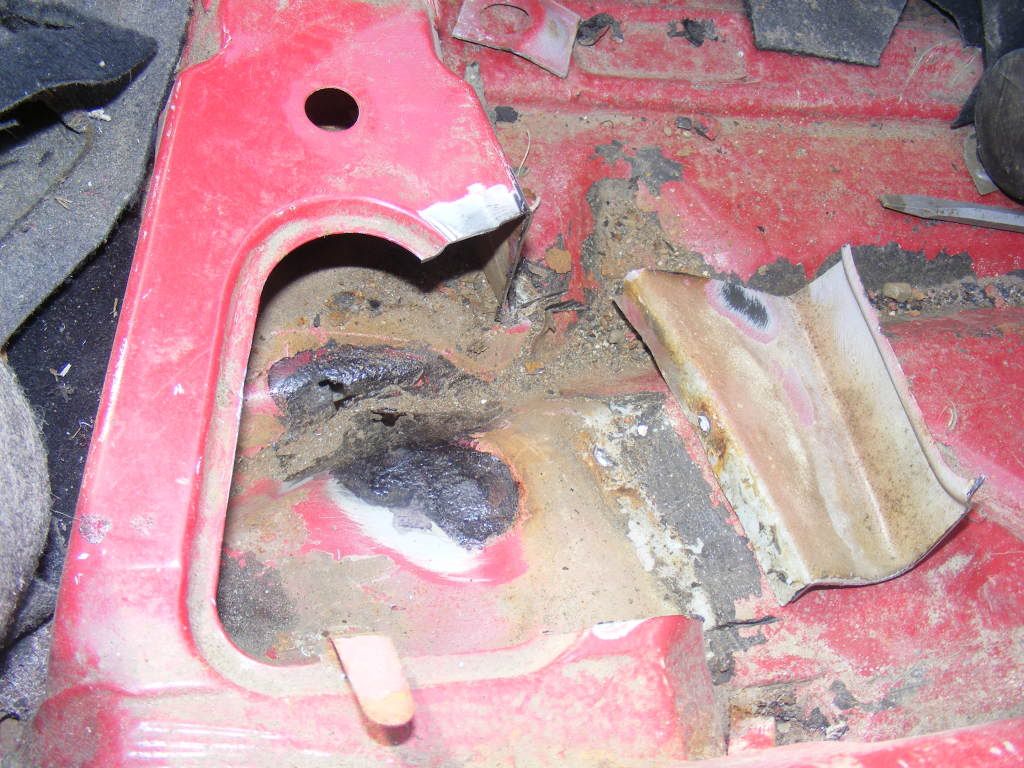
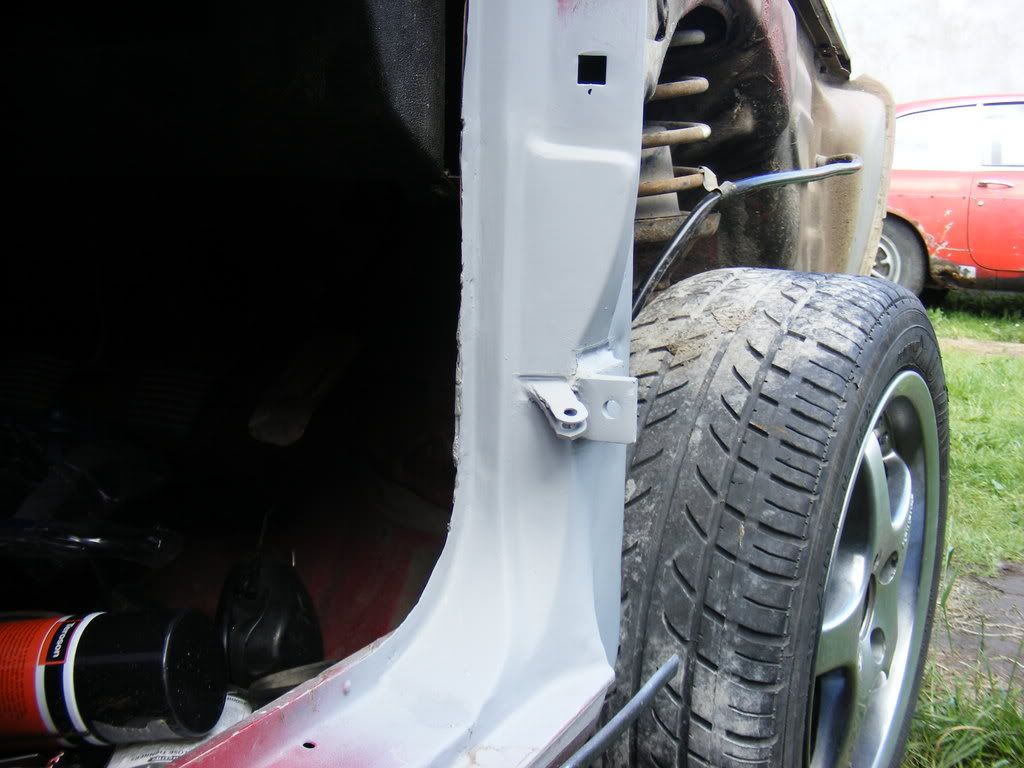
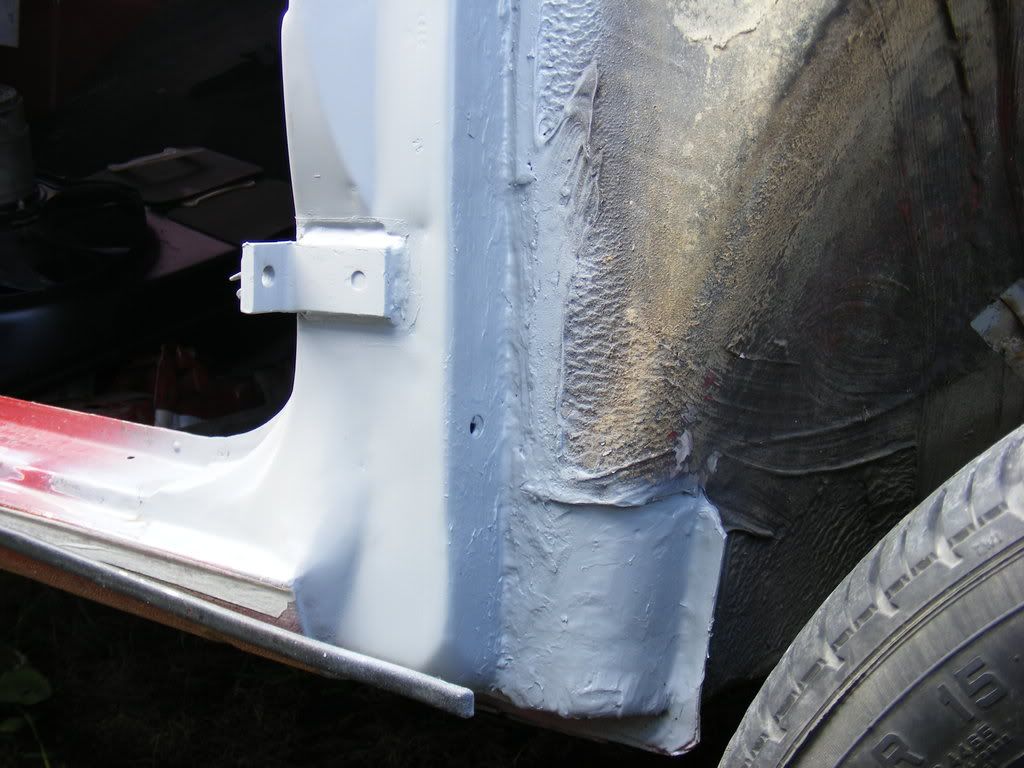
took the front wing off (with help from an old hairdryer) today as i knew the caddy's drivers side door pillar had 'issues'
![Image]()
![Image]()
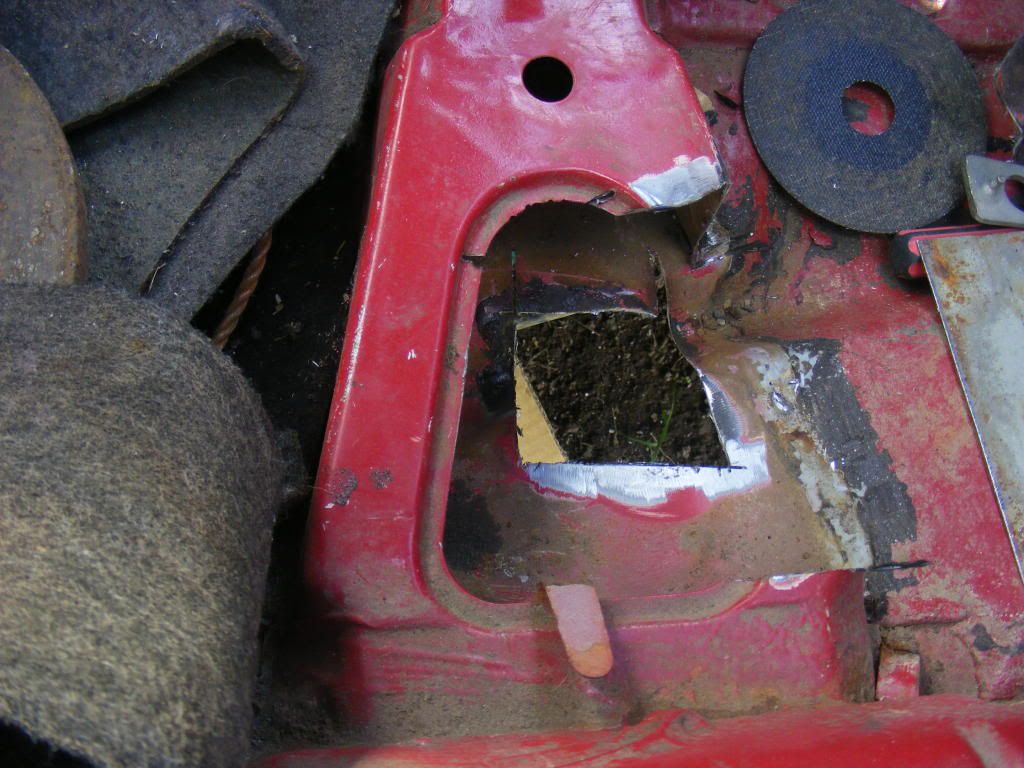
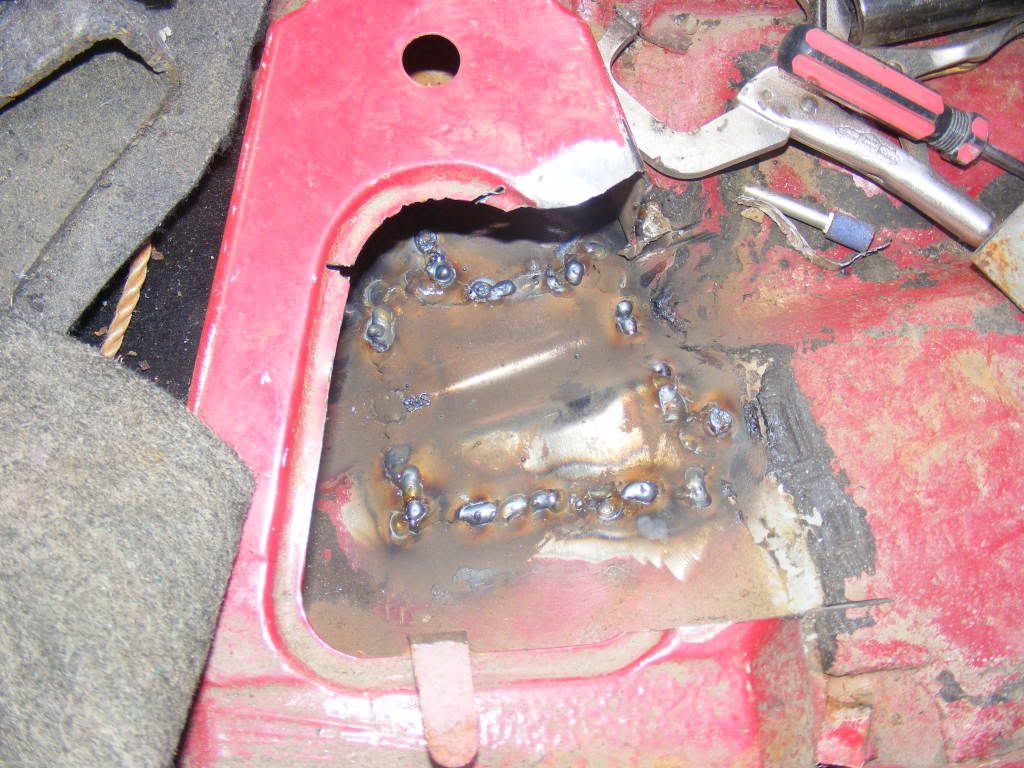
Didnt realise it was that bad... I'll get on and repair this after some 'thought' - ive got the same 'repair' section (left of the pic) which i cut off the 84 before it got the final chop; also using the straight and rustfree drivers door from the 84 - previous '******* engineering' welding/patchwork on the 91's drivers door, and and a crease on the outside skin...
Thats about all to report on the 91 so far...
77 T2 Bus
![Image]()
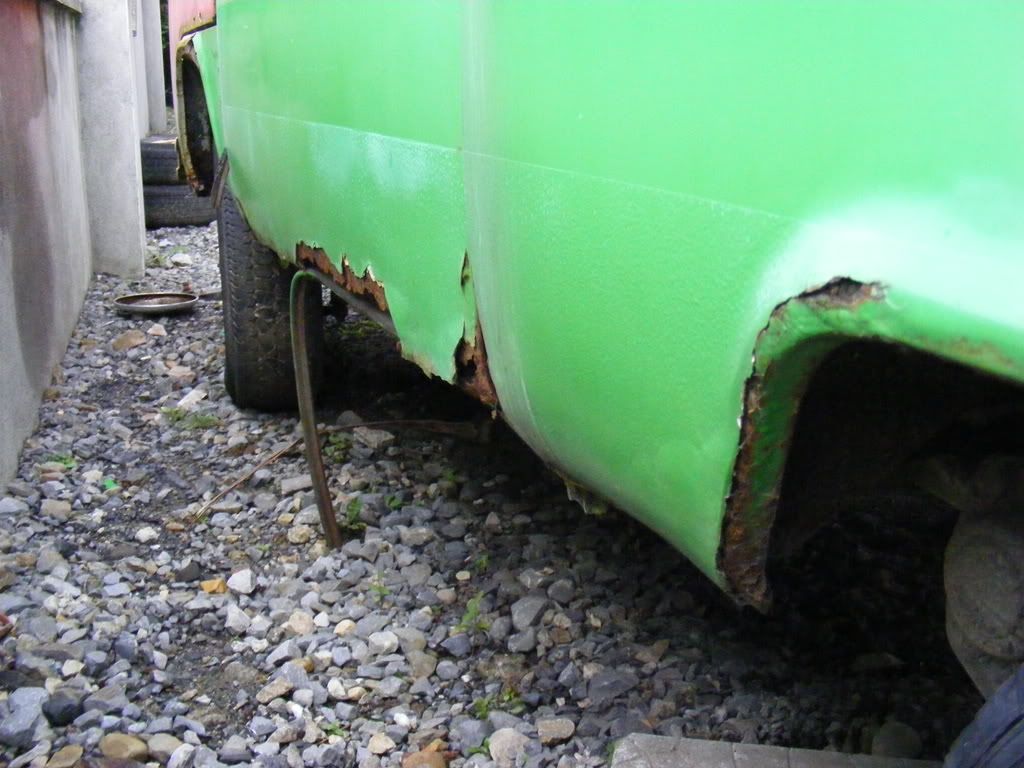
Have had this for awhile-done some welding to the 'outriggers and some other stuff; previous owner attempted to address the rust issues with the 'filler, newspaper and mesh approach'.... it didn't work out too well
![Image]()
![Image]()
Chassis and much of the floor is pretty good, and I have already bought a californian door and rear hatch for 'her'
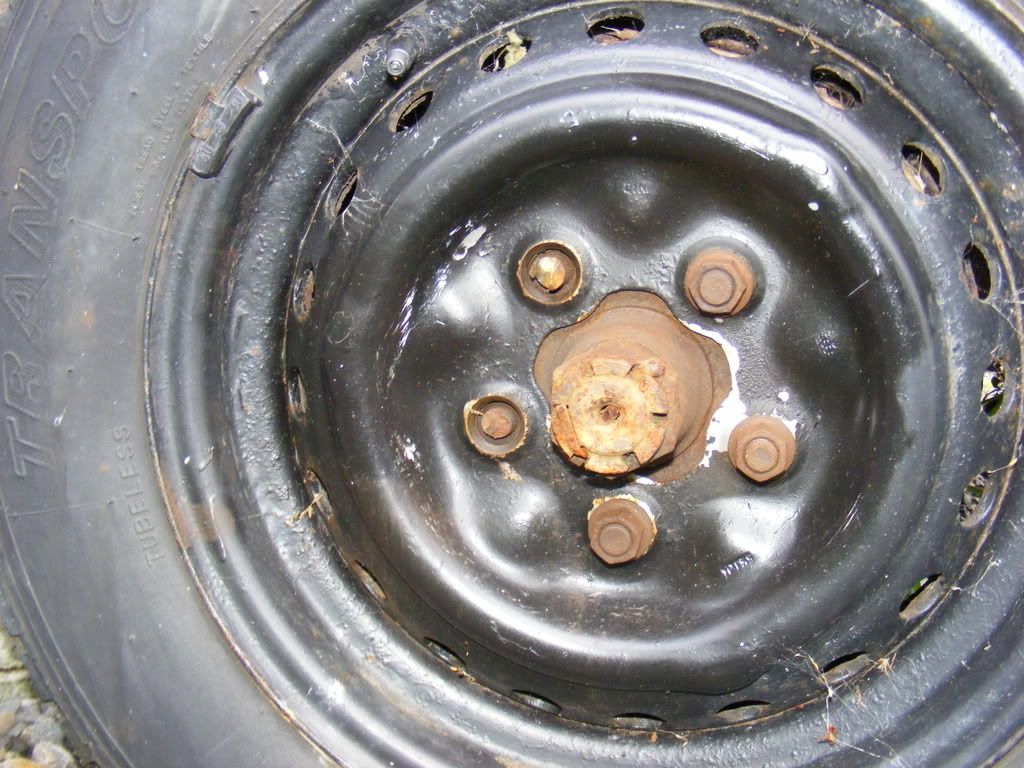
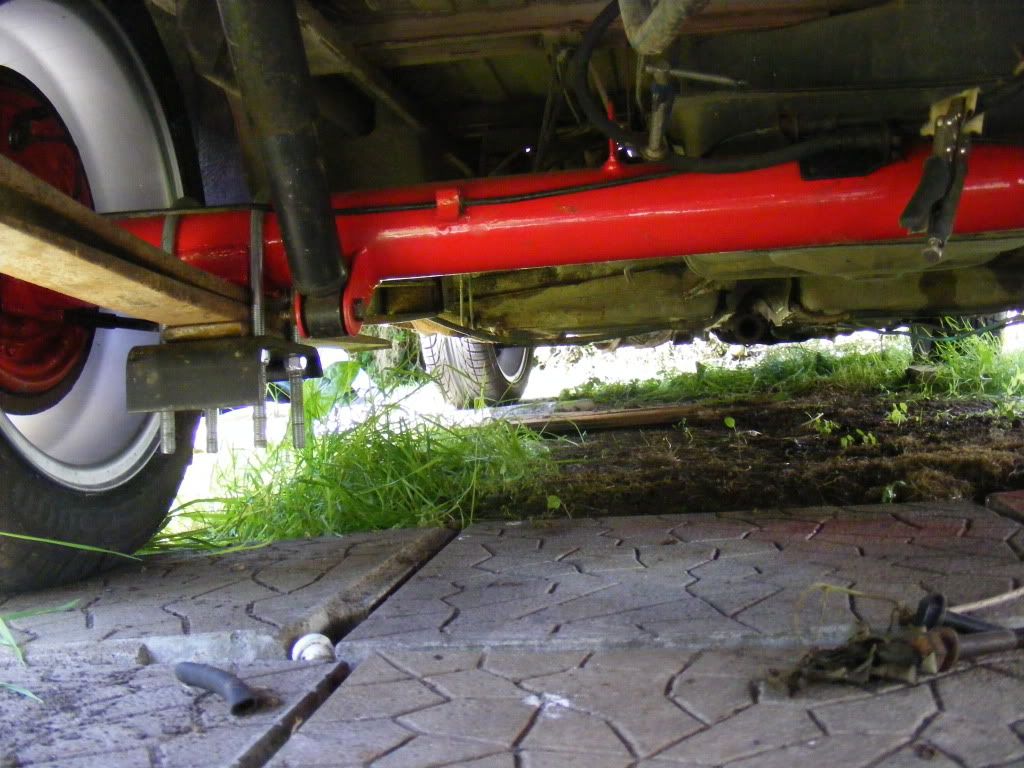
also started renting a unit to do the masses and masses of repair panel work, welding etc to the bus and so last weekI had to swop over a flat and cracked rear tyre...
![Image]()
one stud was already snapped when I bought herprevious owner didn't bother to tighten up the nuts on the weel properly, one refused to tread off no matter what approach I tried; Mr Grinder soon sorted it tho....
![Image]()
That's about all to report for the time being- dont have a didgital camera so this may not be the most pics laden tread on here but you are welcome to comment etc...
kev

91 Caddy
Bought this tru this site off Ken Merdy 'sans' engine and box (and radiator, mounts, expansion tank...etc etc)
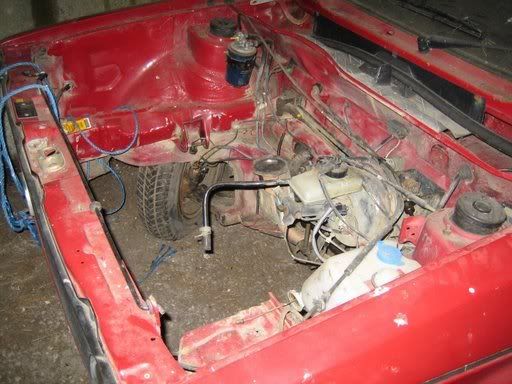
above is a pic 'as bought' in Ken's, of the big empty engine bay...
Recent pic of the caddy - fitted the chrome grille surround from my 'ill fated' 84 (i chopped it up-too much rust)
Dropped in the 1.9TD AAZ I got off LiamO after a good clean up/degrease and swop around of some stuff...
...got all 'anal' and degreased the engine bay and sprayed up a few pipes, ancillaries etc
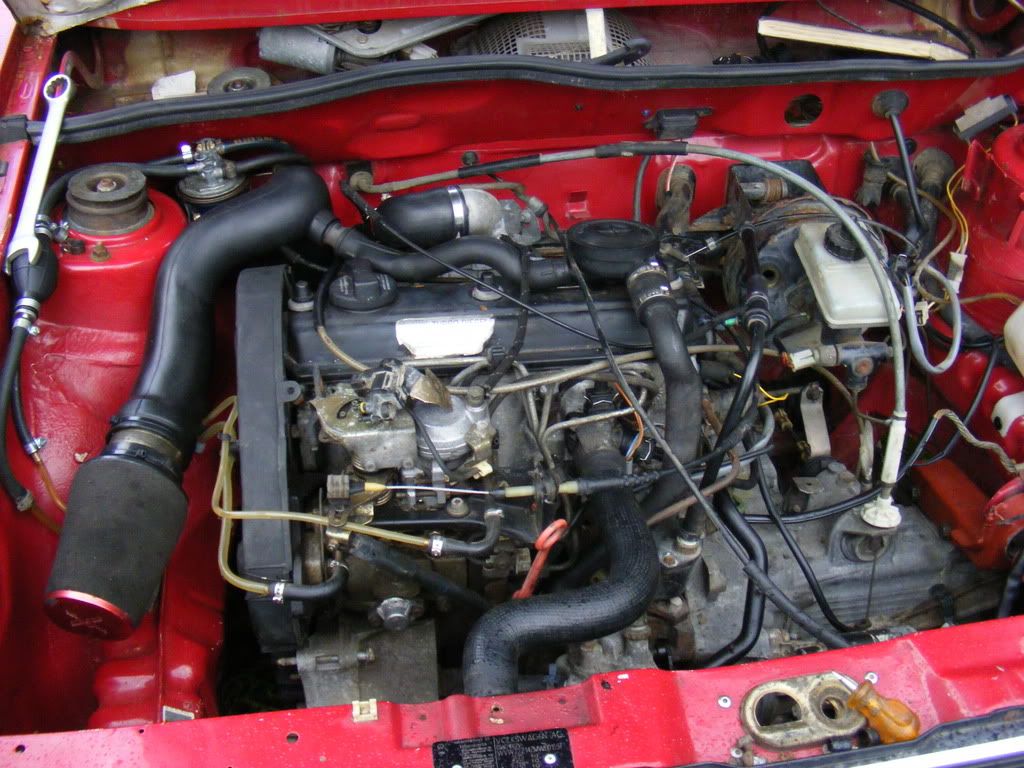
daft induction kit is on for mocking up purposes, bought for Eu5 as part of a 'job lot' of Rover bits...
Body was pretty good for a caddy; but not perfect...
Rust all repaired on the scuttle using 2 Beevers panels scuttle repair sections(still have a drivers side inner and outer arch section that I was going to use on the 84 before I thought better of it)...
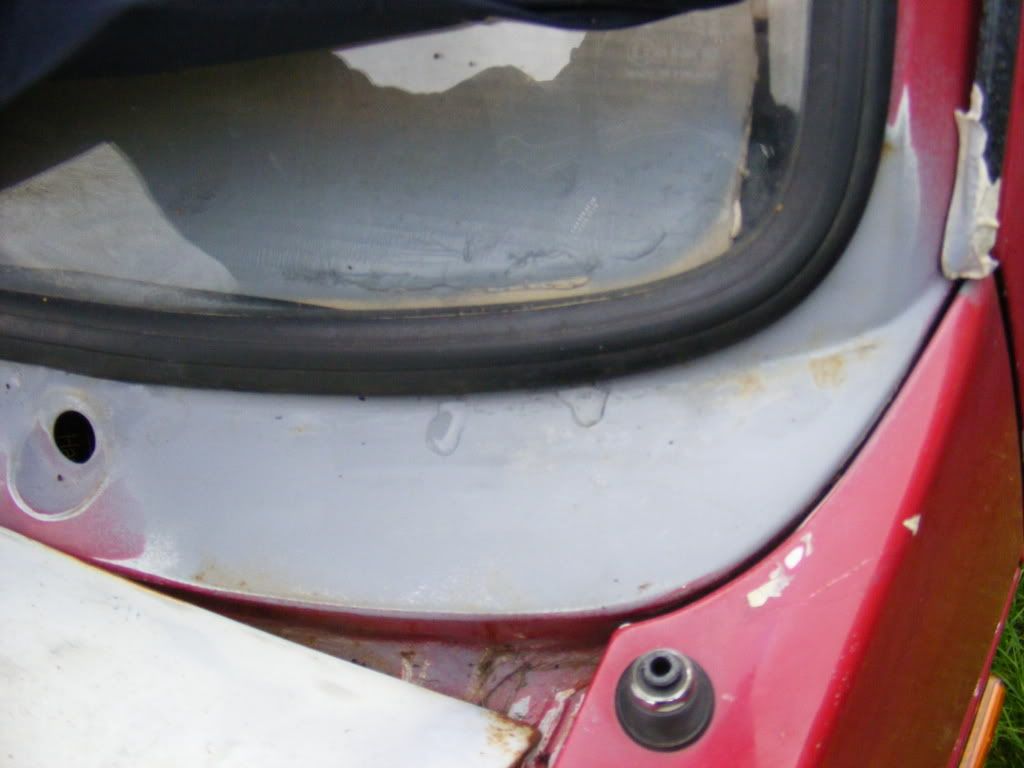
took the front wing off (with help from an old hairdryer) today as i knew the caddy's drivers side door pillar had 'issues'
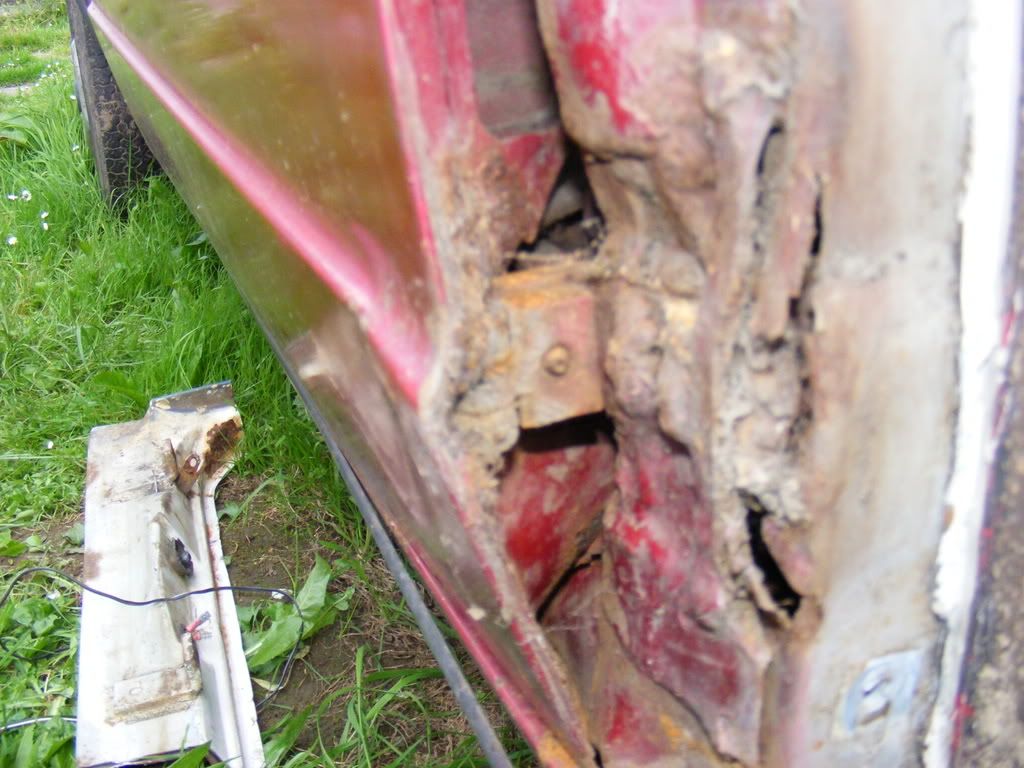
Didnt realise it was that bad... I'll get on and repair this after some 'thought' - ive got the same 'repair' section (left of the pic) which i cut off the 84 before it got the final chop; also using the straight and rustfree drivers door from the 84 - previous '******* engineering' welding/patchwork on the 91's drivers door, and and a crease on the outside skin...
Thats about all to report on the 91 so far...
77 T2 Bus

Have had this for awhile-done some welding to the 'outriggers and some other stuff; previous owner attempted to address the rust issues with the 'filler, newspaper and mesh approach'.... it didn't work out too well
Chassis and much of the floor is pretty good, and I have already bought a californian door and rear hatch for 'her'
also started renting a unit to do the masses and masses of repair panel work, welding etc to the bus and so last weekI had to swop over a flat and cracked rear tyre...
one stud was already snapped when I bought herprevious owner didn't bother to tighten up the nuts on the weel properly, one refused to tread off no matter what approach I tried; Mr Grinder soon sorted it tho....

That's about all to report for the time being- dont have a didgital camera so this may not be the most pics laden tread on here but you are welcome to comment etc...
kev


")