
Well as the saying goes if ya cant beat them join them, so dieseldave and timmy pay attention this is how to do the job quickly
![Image]()
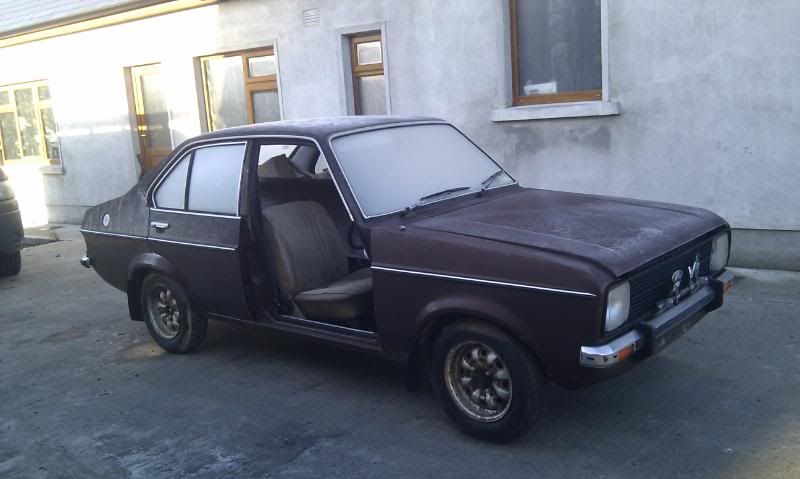
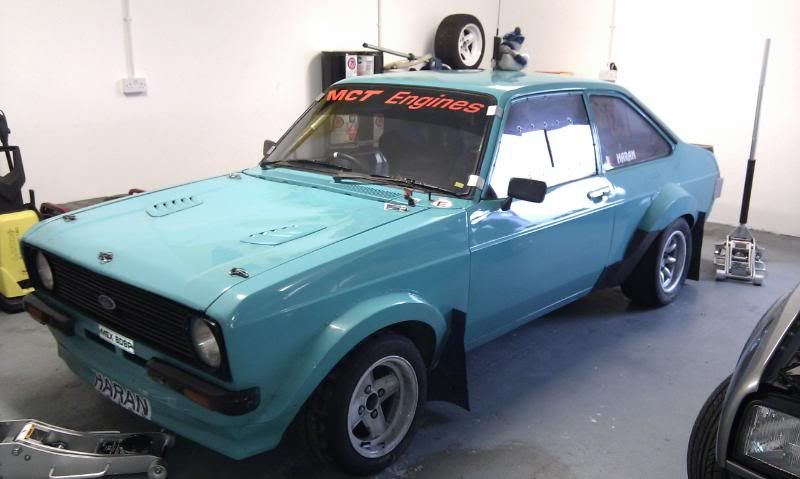
Well the time has come for me to rebuild my mk2, I was torn between scraping the shell and just building a new shell but i decided to try and get another few years out of it.
Some of you know the car for those of you who don't, here is a little history on it with a few pics.
![Image]()
![Image]()
It has been a rallycar since at least 1993 and it had changed hands a good few times before i bought it in 2004.
When i got it i alloy arched it and fitted an atlas, In 2009 i resprayed the car and only gave it an appearance and power upgrade.
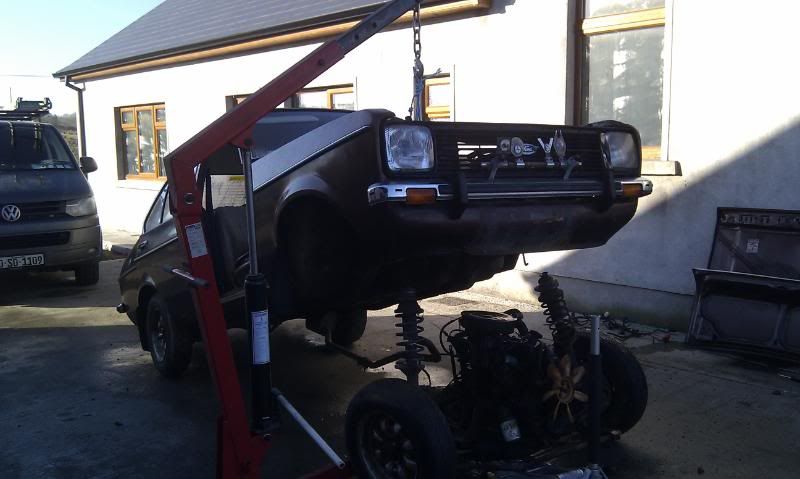
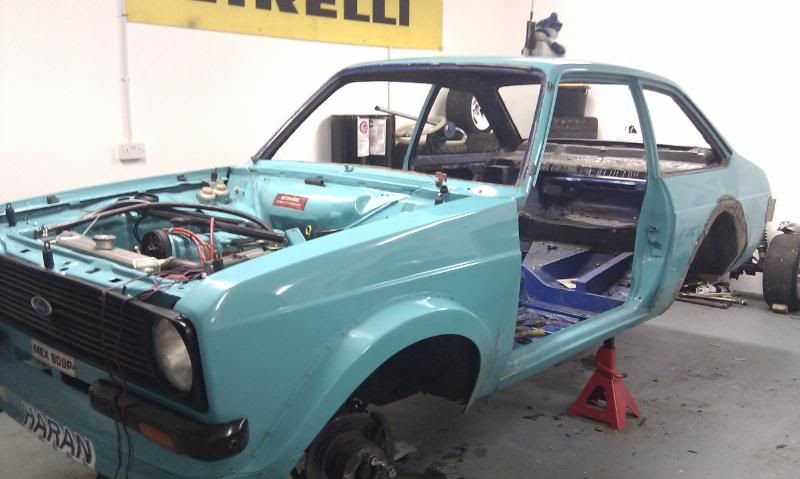
Towards the end of 2010 i knew i needed to do something as it only had a bolt in cage and the shell was starting to show signs of its age.
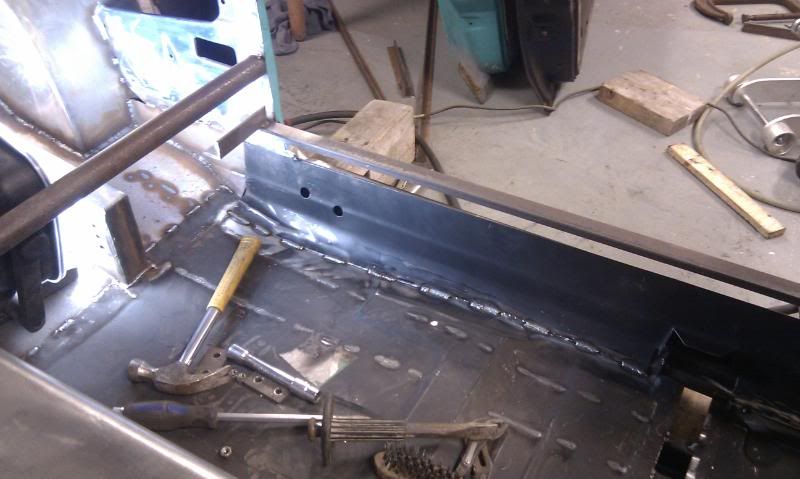
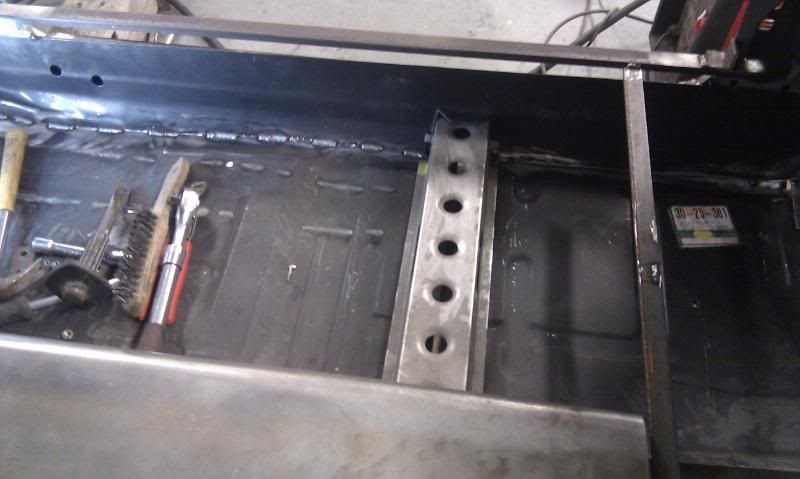
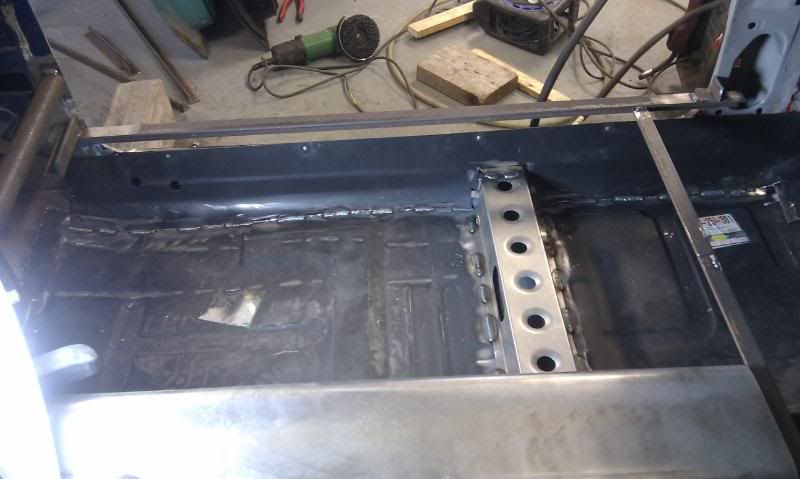
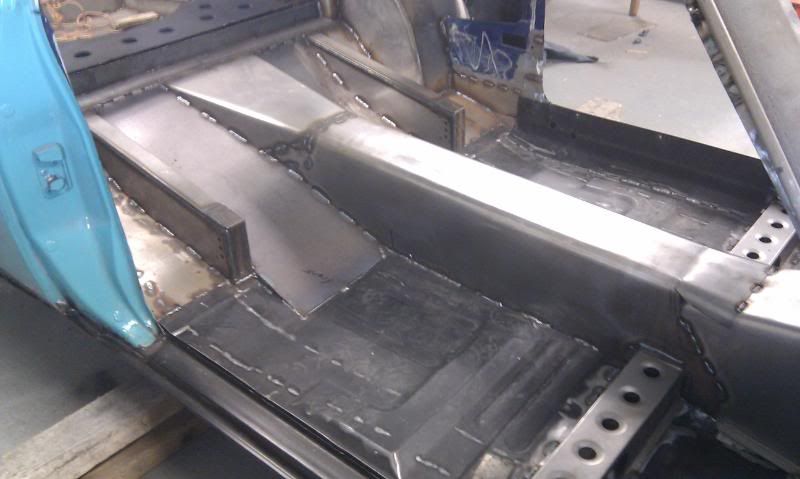
So im going to try and tidy the shell as best i can, im an Electrician not a fabricator so excuse some of the work.
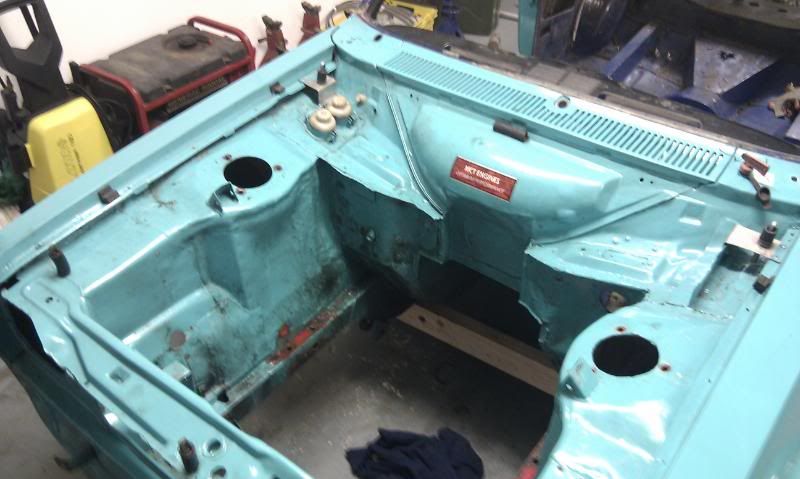
One pic before i started
![Image]()
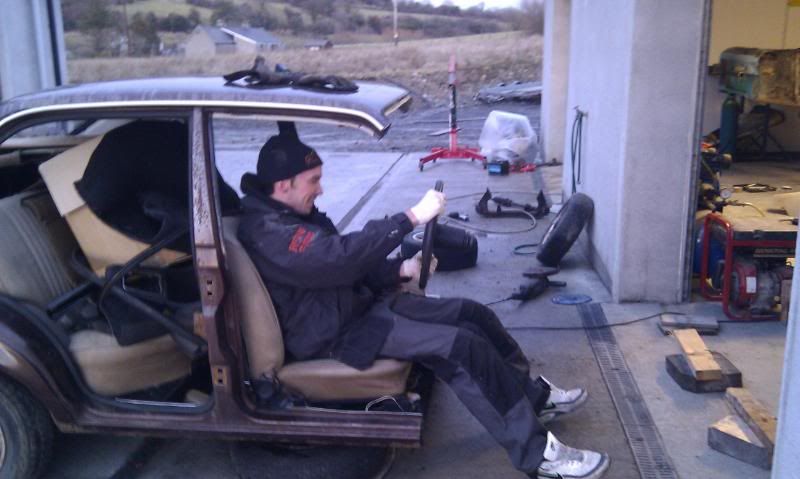
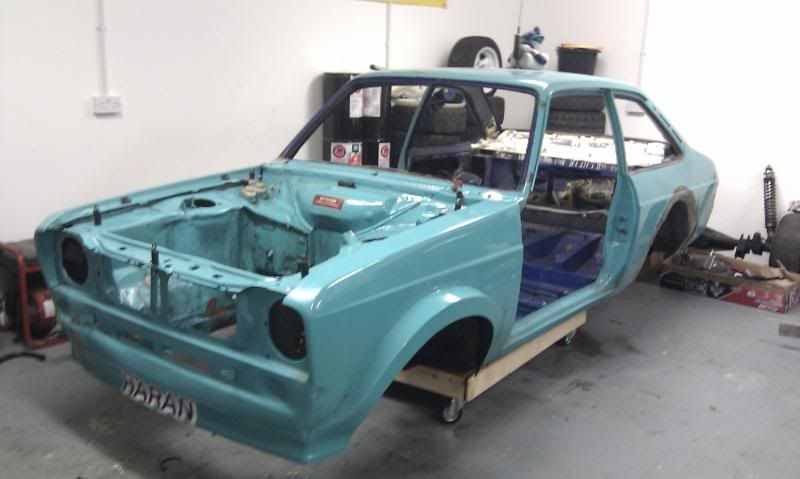
Starting to strip it out
![Image]()
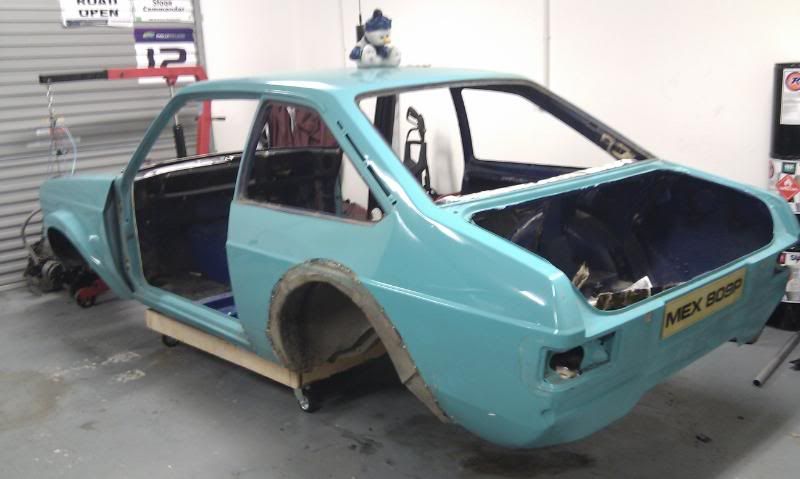
All done
![Image]()
![Image]()
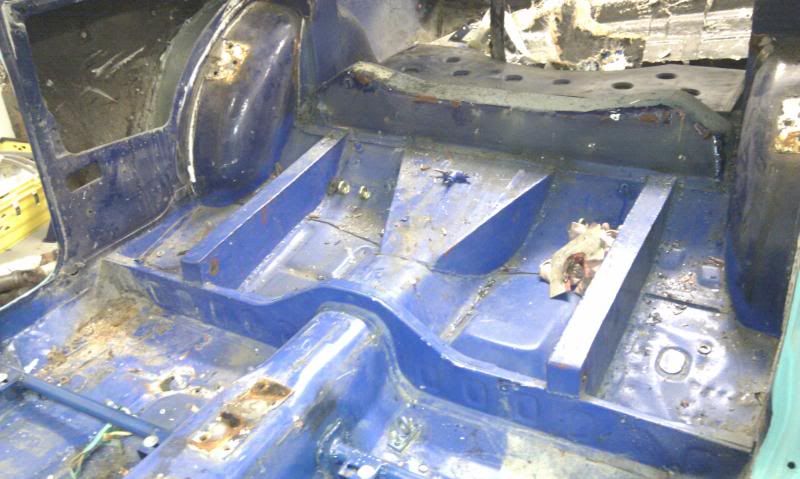
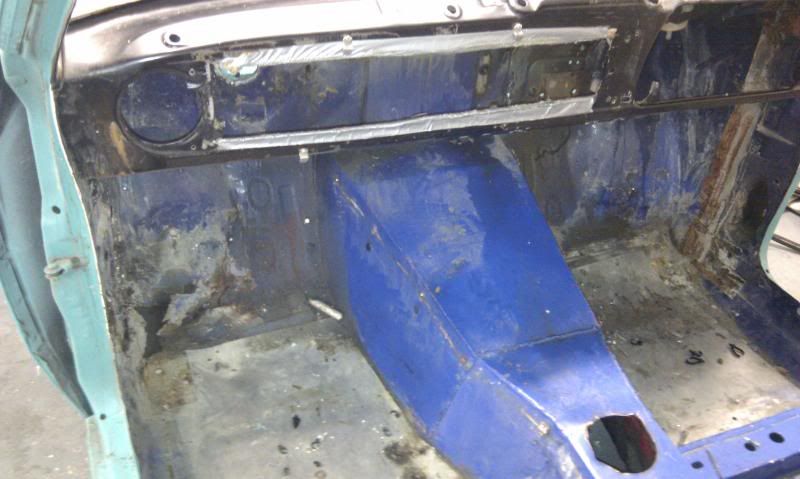
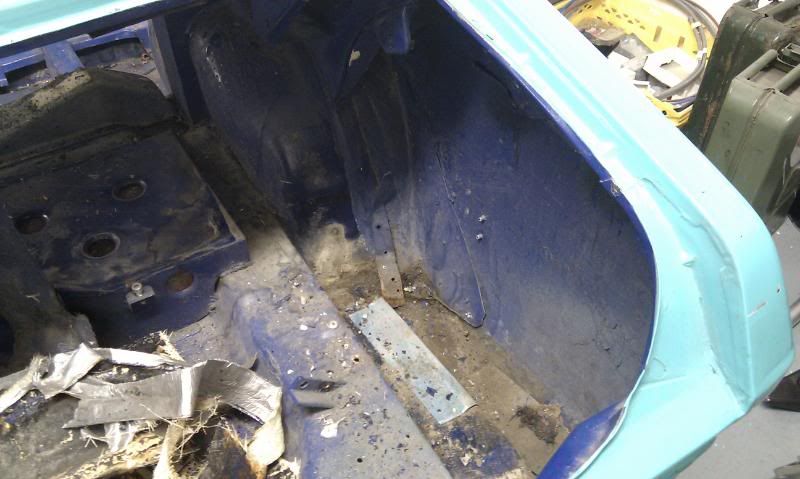
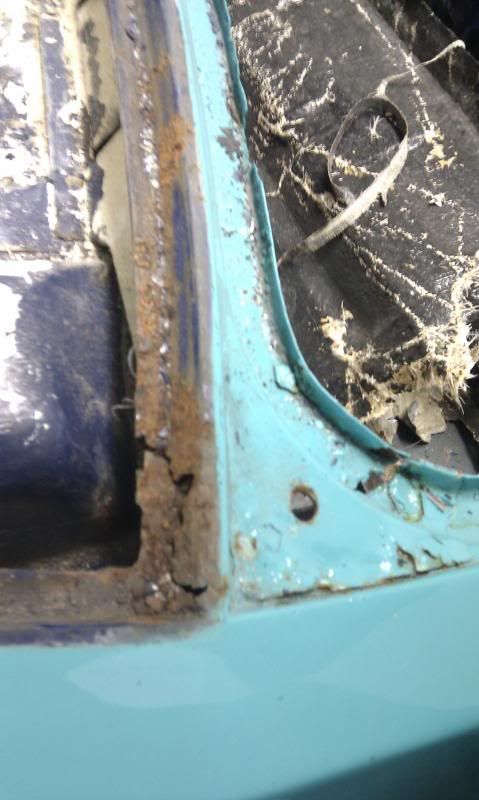
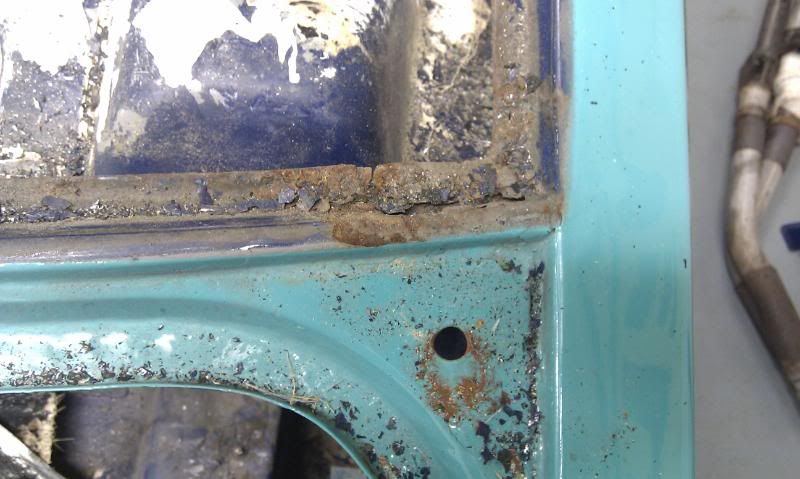
It doesn't look to bad in the next few pics.......but looks can be deceiving
![Image]()
![Image]()
![Image]()
![Image]()
![Image]()
![Image]()
These next 2 are the least of my worries :rofl:
![Image]()
![Image]()
When i got to this stage i had a fare idea what work was needed, so i gathered a few bits and on the 20th of december i started the real work :frustration:

Well the time has come for me to rebuild my mk2, I was torn between scraping the shell and just building a new shell but i decided to try and get another few years out of it.
Some of you know the car for those of you who don't, here is a little history on it with a few pics.


It has been a rallycar since at least 1993 and it had changed hands a good few times before i bought it in 2004.
When i got it i alloy arched it and fitted an atlas, In 2009 i resprayed the car and only gave it an appearance and power upgrade.
Towards the end of 2010 i knew i needed to do something as it only had a bolt in cage and the shell was starting to show signs of its age.
So im going to try and tidy the shell as best i can, im an Electrician not a fabricator so excuse some of the work.
One pic before i started
Starting to strip it out
All done
It doesn't look to bad in the next few pics.......but looks can be deceiving


These next 2 are the least of my worries :rofl:
When i got to this stage i had a fare idea what work was needed, so i gathered a few bits and on the 20th of december i started the real work :frustration: