Volkswagen Automobiles Forum banner

Boobies

8.8K views 72 replies 26 participants last post by  ventojetta  
#1 ·
**copied from another site**

Sold the Vento so bought myself a project to keep me going.

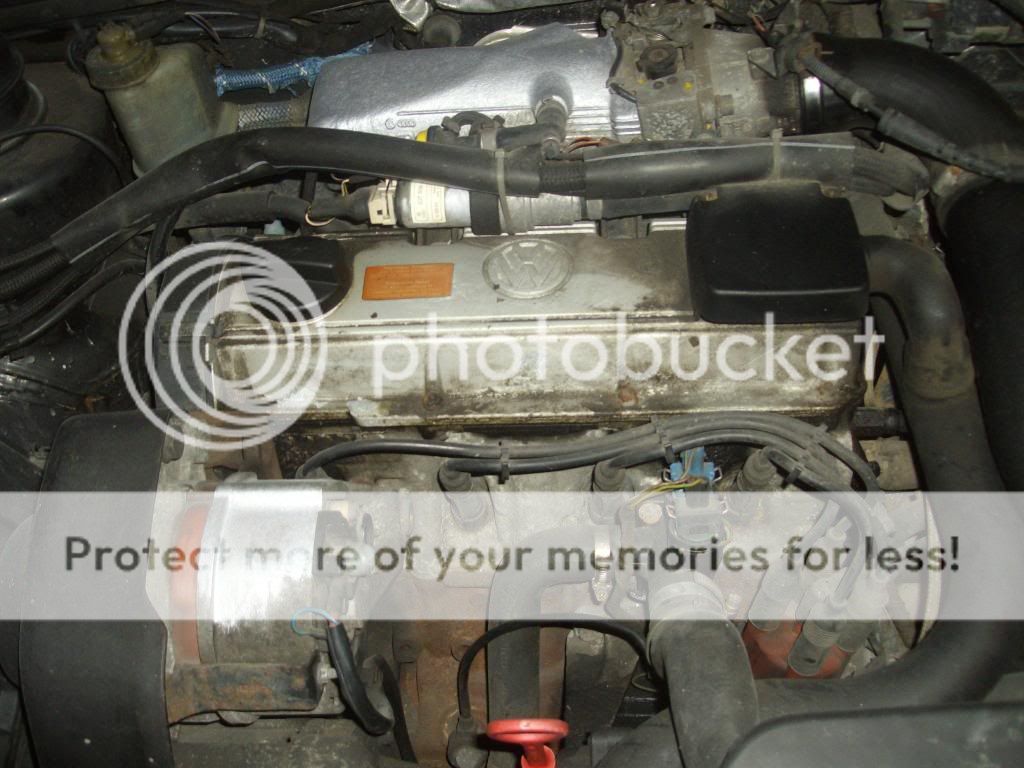
Its yet again another VW, but with a supercharger this time
Image


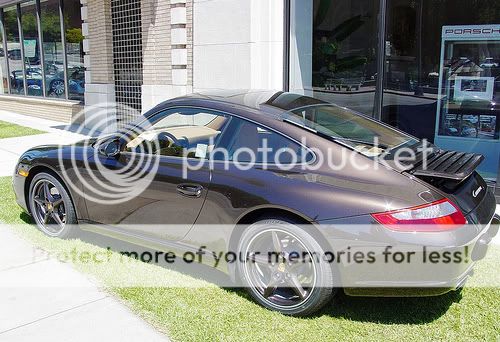
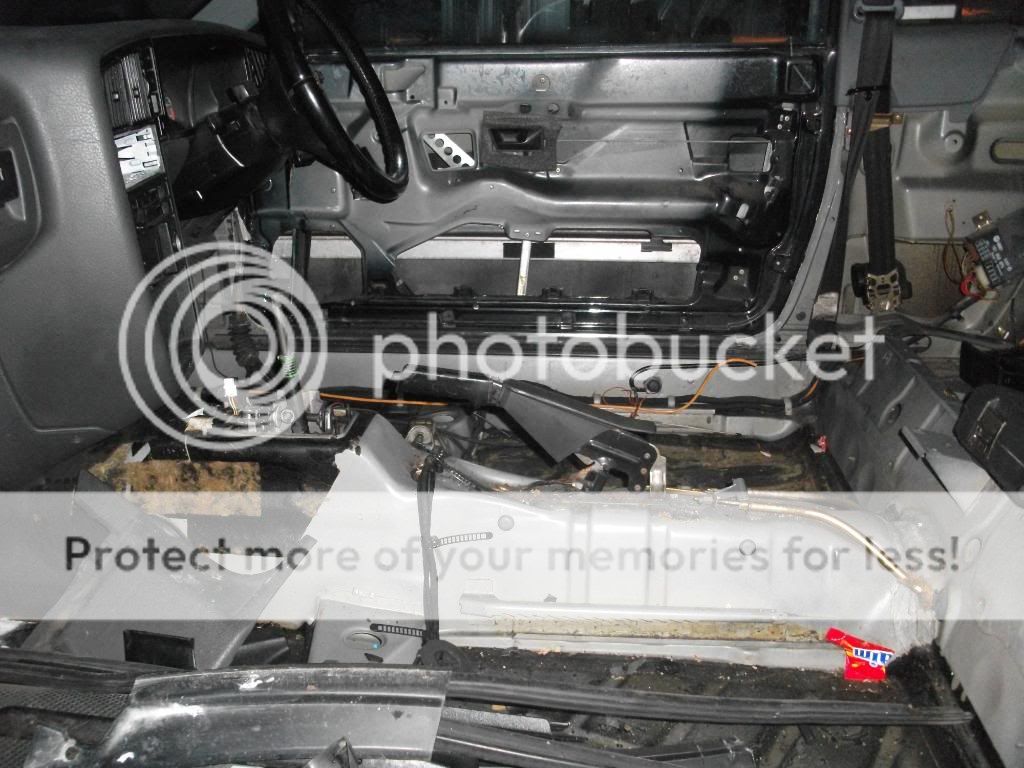
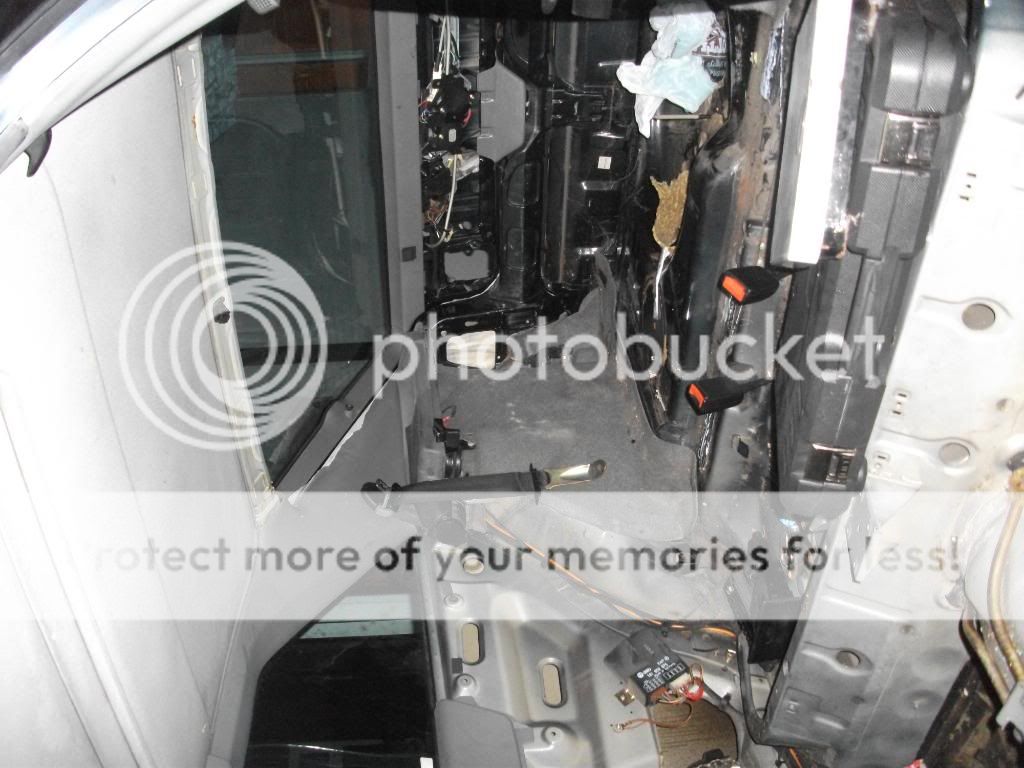
Introducing my G60 Corrado:

Image


Image


Image


Image


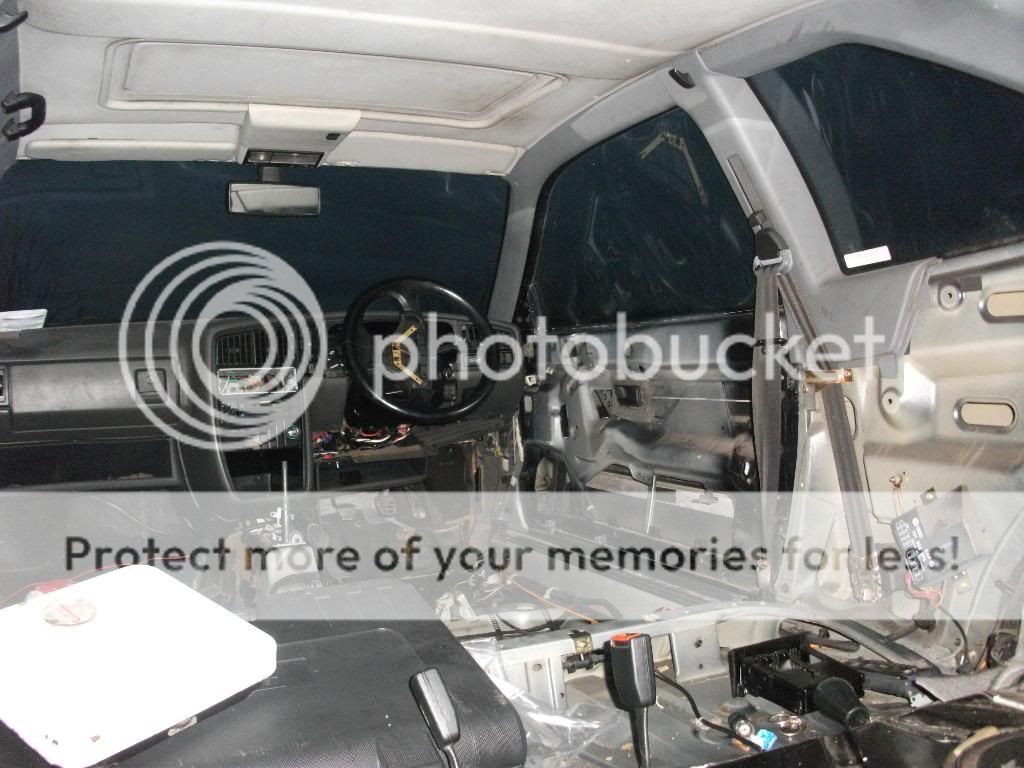
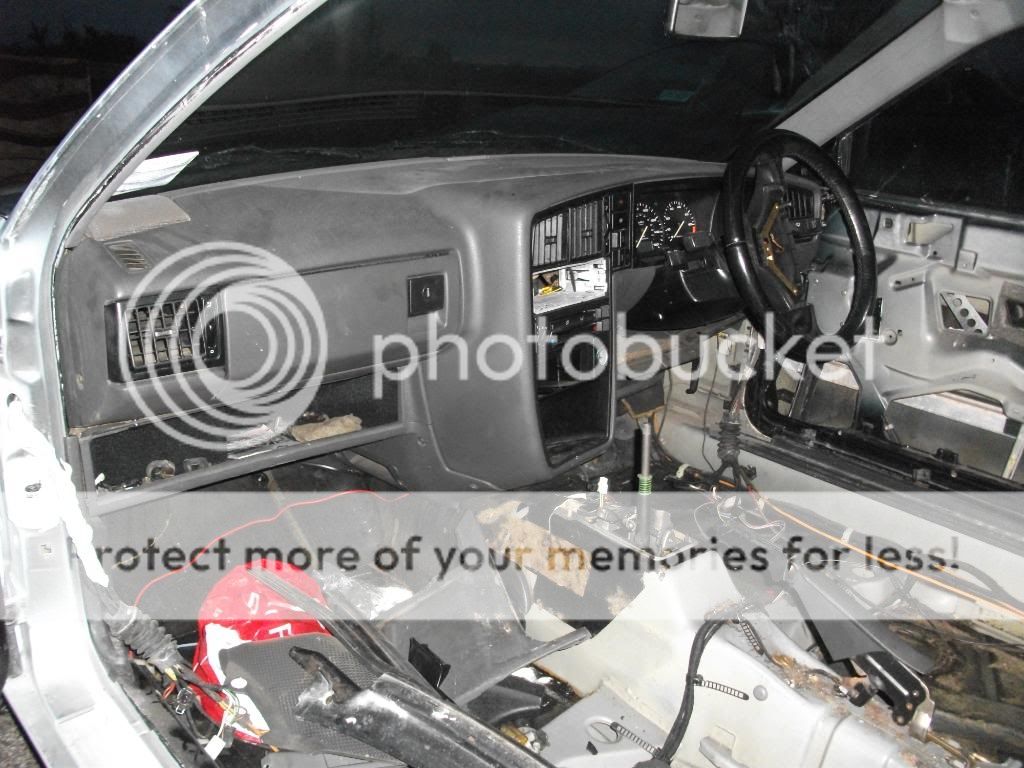
Bought the car as it stands at the moment, haven't touched it yet.

But its got a few bits done to it already, 110,000 on the clock, charger was rebuilt about 15k ago by Gwerks in the UK, with a few more bits and pieces

Bumpers have been smoothed:

Image


Image


Arch's have been rolled and flared slightly:

Image


Rear badges have been taken off and the holes smoothed:

Image


Side moldings have been deleted too:

Image


Lots of receipts and service history with it too
Image


Image


Image


Image


Massive thanks to Damo for trailoring it home for me!
 
#2 ·
I could have bought a tested 16v for what I paid for this but a 16v isn't going to match not to mind beat an ITR.

Due to being in collage this is going to take well over a year to complete it and for me to be happy with it me thinks, it's not going to be done in a week like the Vento was. Its gonna be long and expensive
Image
 
#3 ·
Picked up a few bits for this.

First of all I will be going for 16" wheels for this, don't know what yet but definetly 16's as I think they look best on Raddo's.

So picked up 4 Hankook Pro Evo S1's in 215/35/16's which should be fairly nice and grippy for the Corrado during the summer months.

Image


Image


Thanks to Ronan for these.

And also some German plates
Image


Image


Small updates but i'm flat broke!
Image
 
#4 ·
All tucked up for the time and being until I can get a few bits sorted out. Will start stripping out the interior over the next while. Checked a few bits out today and the tilt and slide feature on the sunroof actually works which is very strange for a Corrado
Image


Little bit of a missfire to sort out too but the plugs and leads will be changed to upgraded items anyways so that should sort that.

Image


Image


Pity Bentley never made these in 16's
Image


Image
 
#6 ·
Made a bit of progress today getting ready for the engine going out and to start smoothing and repainting the engine bay. All fluids drained out. Got rid of the carbon canister as it more than likely is too old to serve any purpose at the moment and tidys up the engine bay a bit. Front panel is taken off, headlights, grill, radiator, as well as all the small brakets around the turrets that I won't be needing. Have the power steering resovoir bottle ready to be relocated to where the intercooler currently sits.

Found a hole from the airbox to the supercharger that i could fit my hand through but was going to be replaced anyways
Image
Up tomorow i'll take the altenator off as it needs to be refurbished with a new bearing added (thank fuck it was that making the noise and not the supercharger!) Will take off the intercooler, disconnect everything else from the engine and get it ready for it to be taken out.

Anybody in Limerick area have a lend of an engine crane for a day?
 
#7 ·
Riiiiiiiiiight!

Backyard engineering at it's finest, thank god its not raining. Got a bit more done today, Loom is fully disconnected now along with all other ancilleries etc.

Just have to undo the shafts and downpipe now and she's ready to come out. Just wd40'd the shit out of the rusted bolts on the dowpipe, all 5, FML

All the loom wired and taped up together out of the way

Image


Nice clean battery tray, the most prone to rust area's on Mk2/3/Corrado's

Image


Front panel just has surface rust, wired brushed it back and had a good poke around and it's solid as fook.

Image


Image


Driverside chassisleg & wing also mint

Image


Gear linkages off

Image


The teeny weeny wing mounted intercooler which will be replaced for something more substantial.

Image


Image


Few pic's of the underside, just spots of surface rust, nothing to worry about, fairly happy with this considering the car lived in England for 13 years of its life

Image


Image


Image


Well theres the cause of my boost leak anyways
Image


Image


Not too bad though it's only the bit from the airbox to the inlet of the charger, was gonna be replacing it anyways.

The dumping ground for now

Image


The driveshafts are filled with dirt and grime, so much so couldn't get a socket anywhere near it, well that and the beeeeer was calling so will leave it til the new year to scrub up and pop off.

Image


So just left it this way until the new year

Image


Image


Another hour or 2s work should see the engine out so I can begin stripping the engine bay further for shaving and painting.

Was onto D1Stylz today and I hope to be dropping up the car for a full respray inside and out in February
Image


So that's it until the new year, i'm off to Dingle to get smashed!
 
#8 ·
Right I got into an OCD mood the other day and decided absolutely everything will either be new, resprayed or cleaned up right down to cleaning all the nuts and bolts. Which is probably rather pointless as it'll probably end up going into the sand traps on its first track outing.

So out came the interior as i'm going to get that resprayed too while i'm at it.

All sound deadening is being taken out as well as the carpet as they either smell or they are stained and not worth putting back into it.

Removed a good 12kg of sound deadening with lots more to go.

Image


Image


Image


Image


Image


The big pile of parts building up rather quickly!

Image


And a few more of how shes sitting at the moment.

Image


Image


Image


Image


Image


The engine is still sittin in there, would much appreciate the lend of an engine crane for a few hours to get it out! Would make it so much easier for me!

Image


Getting there slowly but surely.
 
#12 · (Edited by Moderator)
QUOTE (ven-to-the-o @ Jan 4 2011, 05:40 PM) <{POST_SNAPBACK}>very cool project. and i love the colour.
when i build a mk1 golf.its going that colour also.

how are the bumpers smoothed? plastic welds or?
how much smoothing are you doing in the bay?

Bumpers were done by Carmo the man I bought it off, AFAIK he just used fiberglass and fillers. Done a serious job on them, only they're very heavy but no filler has cracked on them yet!

Basically anything in the bay I don't need in the bay, holes and brackets etc will be done away with and the chassis legs smoothed. Will relocate as many things as possible.

Looking for a suggestion as to what to do with the expansion tank?
 
#14 ·
Best of luck. We can compare notes lol
Image
 
#19 ·
QUOTE (ventojetta @ Jan 4 2011, 06:40 PM) <{POST_SNAPBACK}>Exactly Mike
Image


Before I got it I hadn't a clue about them but have been reading and researching them since September!
Image


The Bentley manual is priceless. Happy to share anything I discover so don't hesitate to send over a PM.
 
#21 ·
Yeah Mike I think I downloaded a version of the Bentley manual online but haven't opened it yet. Would rather get the book although to be honest. Where did you pick up yours out of interest?

If I find a few handy links i'll pass them your way also.

After the respray in January i'll be sending the charger to Gwerks in the UK for a port and rebuild, probably going to go for a stage 5 with a smaller pulley, 65mm or 63mm. Will obviously doing a good few more mod's engine wise once money allows. Chip, FMIC, injectors, high lift cam, p&p head, looking into getting a manifold and exhaust made up also as well as a few other bits to aid cooling. Will probably run it with a CTN box & VR6 clutch and see how it manages that, if I need to change it I will. Polybush all round, braided brake lines and i'm sure the list and bill will grow a lot more as I move along.

@ Simon, not too sure to be honest, is it?
 
#22 ·
Nice project would love one of these or a vr6 storm, but want to wait until I have enough funds to do a proper job like you plan on doing, respray etc.

The smooth bumpers look nice but if you are putting FMIC in and want good air flow, one of the coolest mods I've seen done was on a Uk raddo which i think was owned by somebosy in the Westside club. Basically they drilled a load of small holes in the front bumper in a rectangle in the front bumper to let air through. Will have a look for a pic of it.
 
#25 ·
QUOTE (Damien_GTI @ Jan 4 2011, 07:34 PM) <{POST_SNAPBACK}>Nice project would love one of these or a vr6 storm, but want to wait until I have enough funds to do a proper job like you plan on doing, respray etc.

The smooth bumpers look nice but if you are putting FMIC in and want good air flow, one of the coolest mods I've seen done was on a Uk raddo which i think was owned by somebosy in the Westside club. Basically they drilled a load of small holes in the front bumper in a rectangle in the front bumper to let air through. Will have a look for a pic of it.

I have seen that alright with the holes in the bumpers to allow better cooling for the FMIC but I think it looks tack. I'm planning on mounting it as low as I can so it sits in the gap at the bottom where hopefully it'll draw some cold air from. If that doesn't work too well i've another idea in mind for it.
 
#26 ·
QUOTE (Damien_GTI @ Jan 4 2011, 07:34 PM) <{POST_SNAPBACK}>Nice project would love one of these or a vr6 storm, but want to wait until I have enough funds to do a proper job like you plan on doing, respray etc.

The smooth bumpers look nice but if you are putting FMIC in and want good air flow, one of the coolest mods I've seen done was on a Uk raddo which i think was owned by somebosy in the Westside club. Basically they drilled a load of small holes in the front bumper in a rectangle in the front bumper to let air through. Will have a look for a pic of it.

Think i saw that raddo in redline mag. Think it was purple?